- Introduction
- Architecture
- Provisioning the infrastructure on OCI
- Installing kubeadm, kebeles and kubectl (ALL NODES)
- Installing a Container Runtime Interface (CRI) (ALL NODES)
- Preparing the cluster to add worker nodes
- Adding worker nodes to the Kubernetes cluster
- Conclusion
Introduction
The goal of this guide is to show how to use Kubeadm to create a Kubernetes cluster on three machines provisioned on Oracle Cloud Infrastructure (OCI). Thus, the following sections will describe the topology used, the configuration needed on OCI and all the steps performed to deploy a Kubernetes cluster on top of these machines.
Importantly, this guide assumes that you have an OCI free tier account; you can create one by checking the OCI page. Furthermore, the virtual machines used in this guide are based on the Ampere ARM hardware architecture plus Canonical Ubuntu 22.04. Thus, all the software installed below is based on this setup.
Architecture
The architecture is quite simple and is depicted by the diagram below.
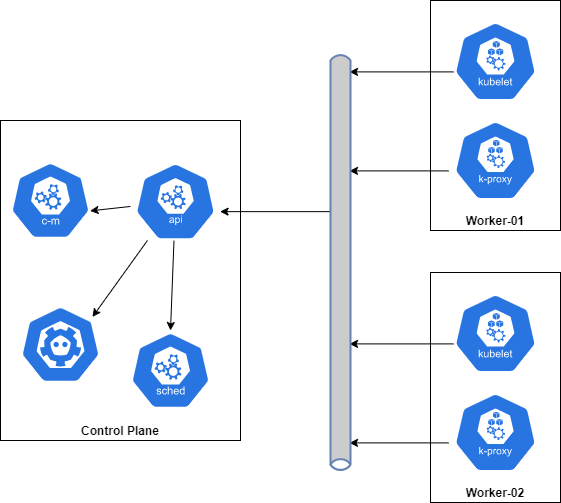
From above diagram we will have three virtual machines one for the control plane and two for the worker nodes.
Provisioning the infrastructure on OCI
Creating a compartment
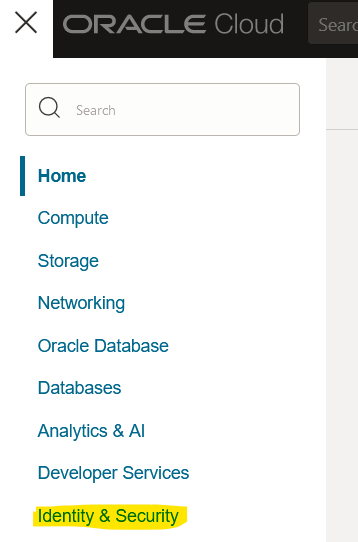
- Click on the hamburger menu and then click on “Identity and Security”
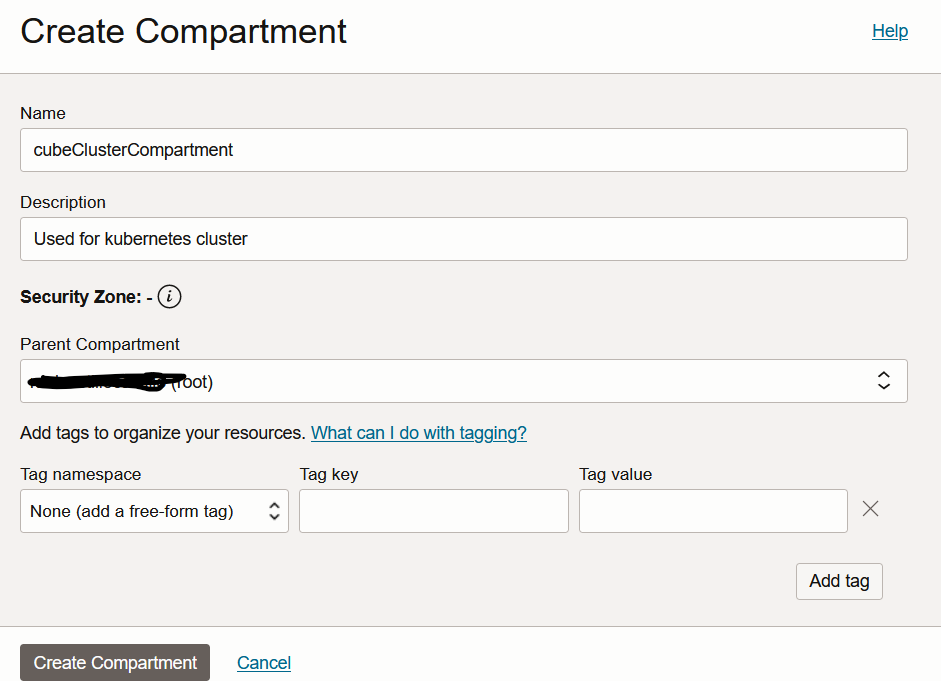
- Click on “Create Compartment”

- Fill the form and click on “Create Compartment”
Creating a virtual cloud network (VCN)
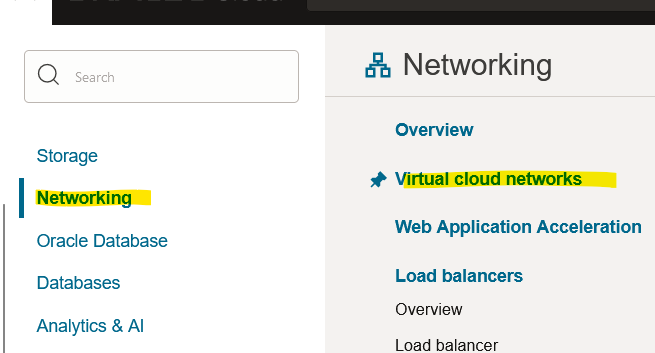
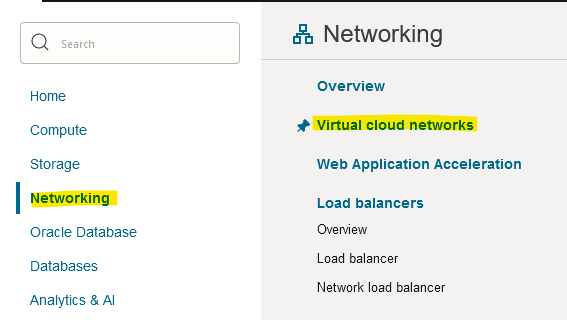
- Click on the hamburger menu and then click on “Networking > Virtual Cloud Networks”.
- Select the compartment created before.
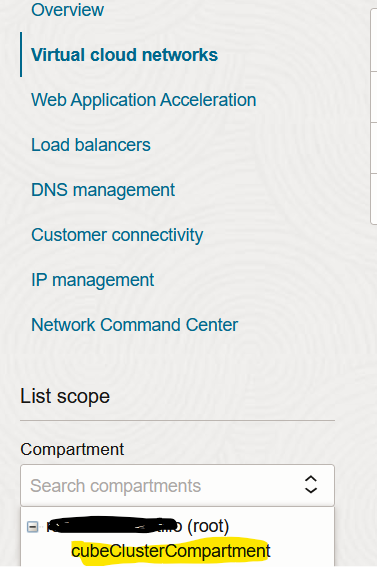
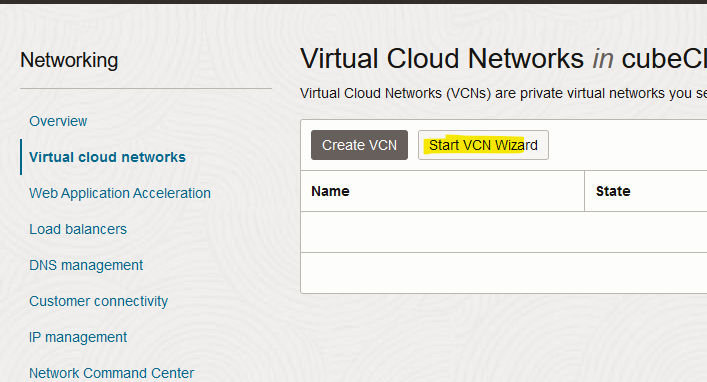
- Click on “Start VCN Wizard”.
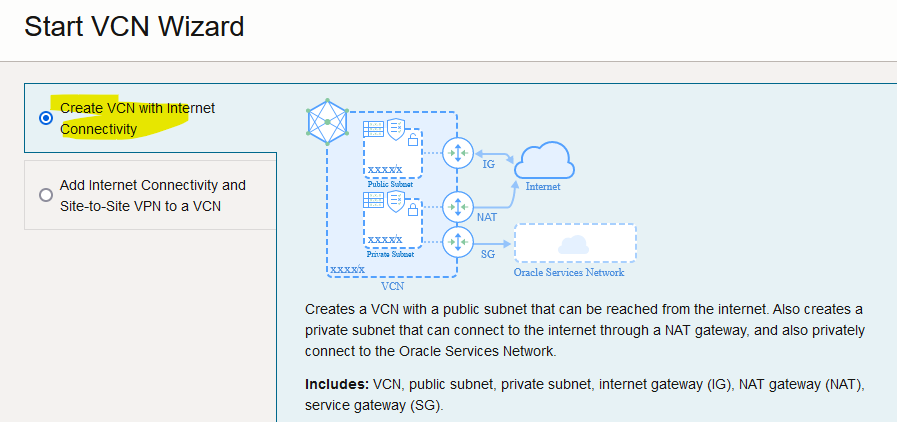
- Select the one with Internet connectivity.
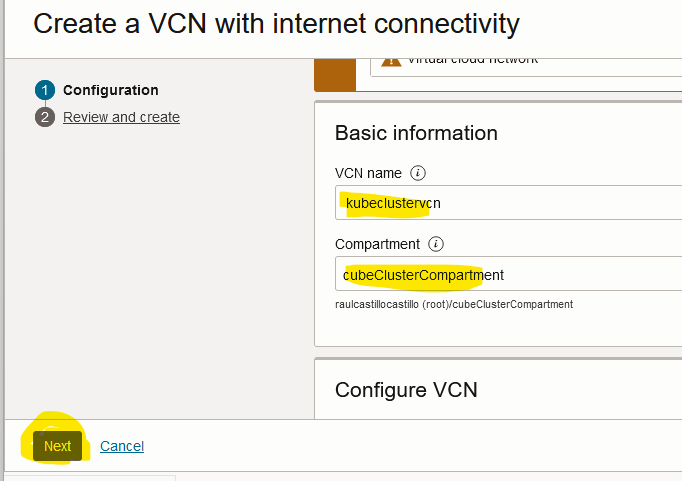
- Provide a name, a compartment and then click on “Next”
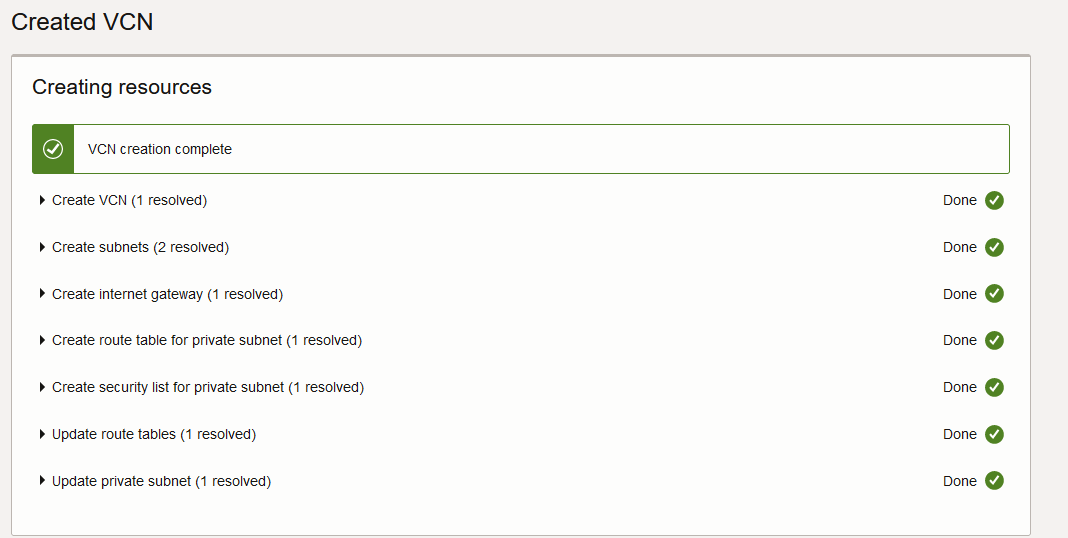
- Check the configuration and then click on “Create”

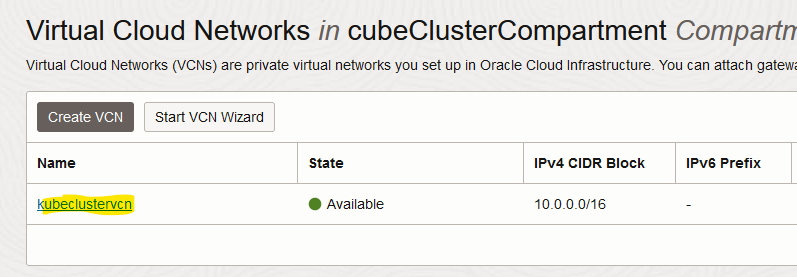
- If everything goes well, you will see this.

Creating the virtual machines
In this case all the steps to create the control-plane are show and then a table with the summary for other machines is presented.
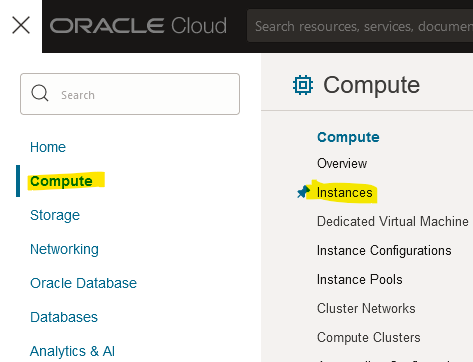
- Click on the hamburger menu and then click on “Compute > Instances”.
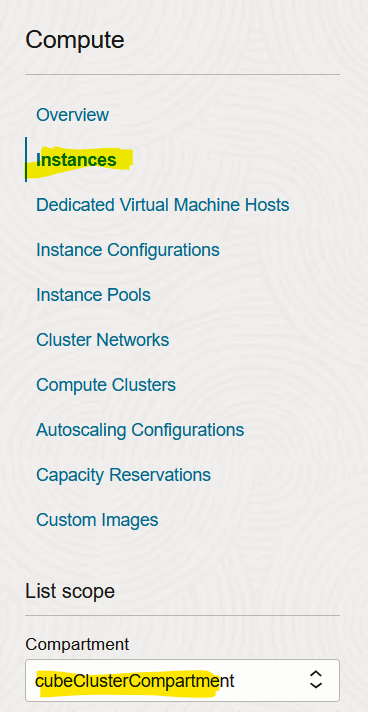
- Click on “Instances” while choosing the right Compartment.
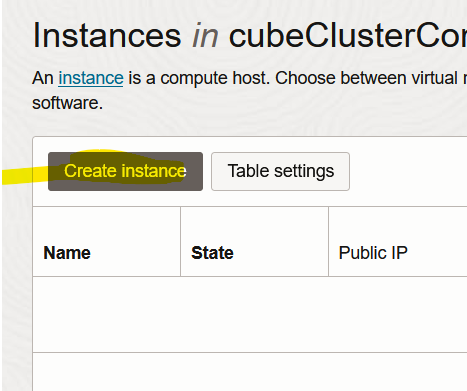
- Click on “Create Instance”
- Below, we have the options used for the control-plane.
Name and compartment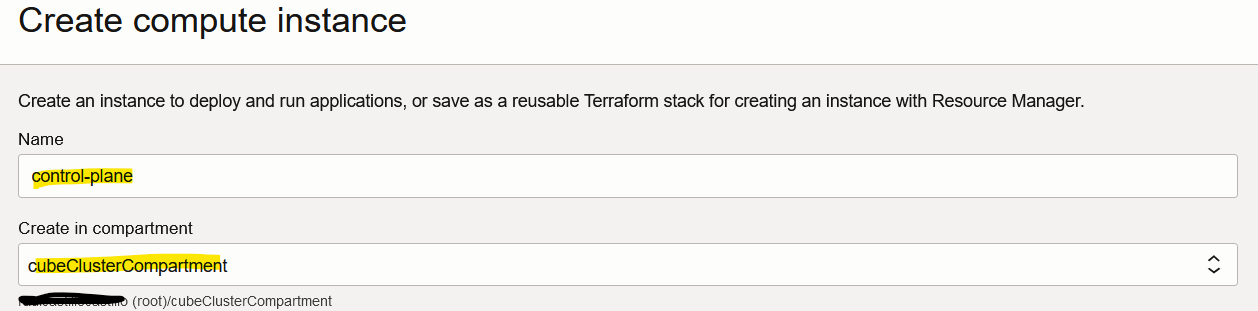
Image and shape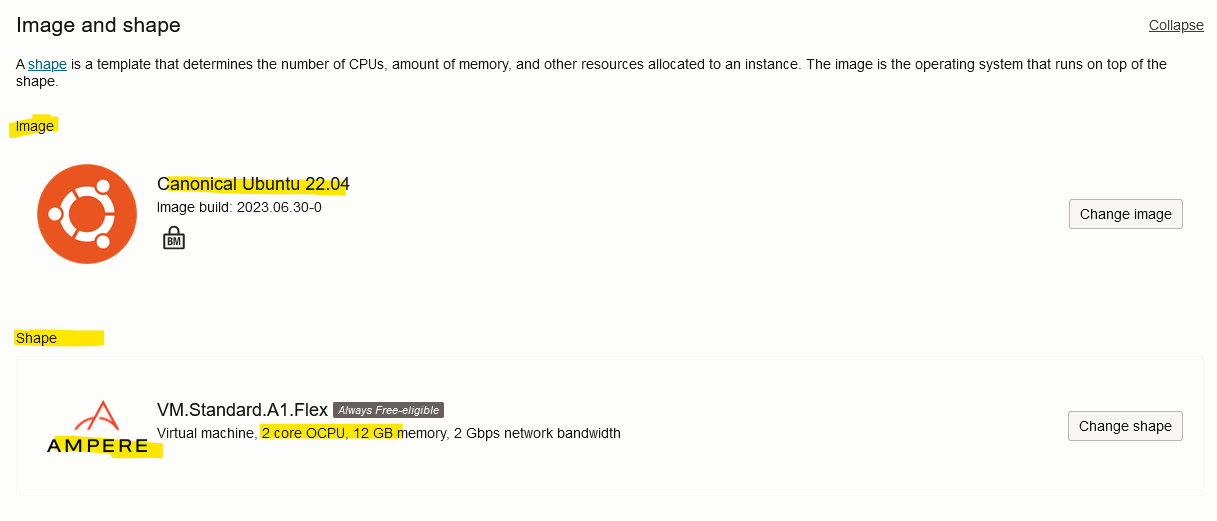
Networking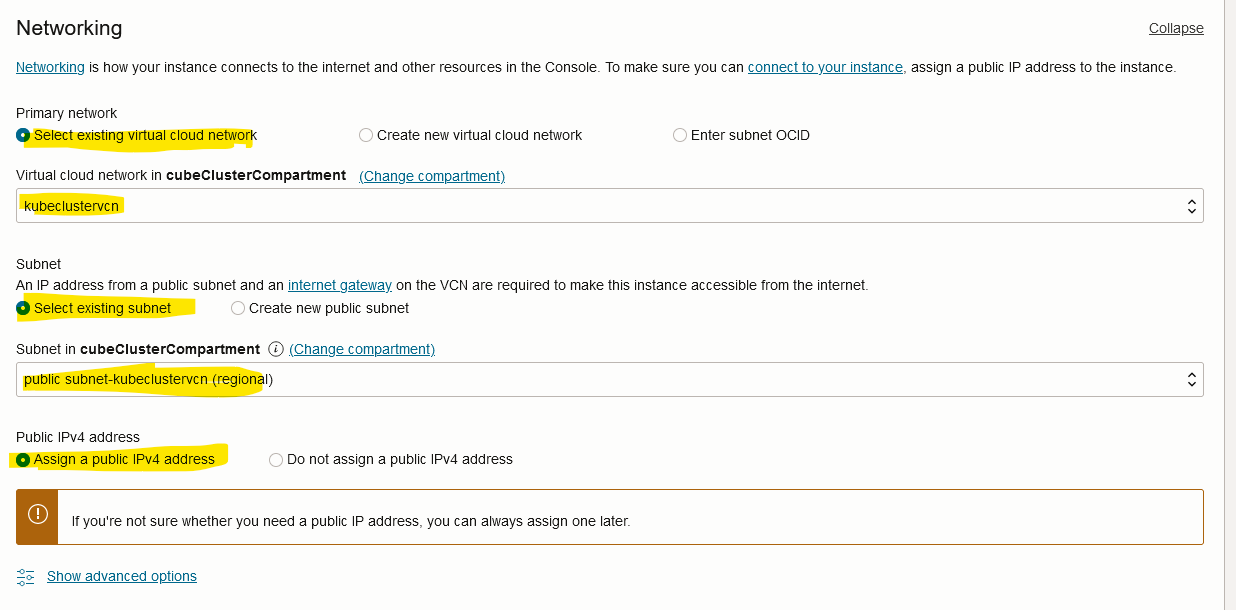
Don’t forget to save your private key.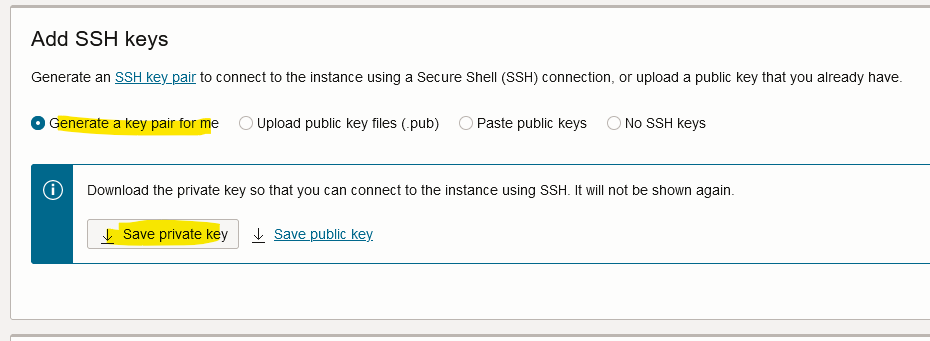
Now you should click on “Create”.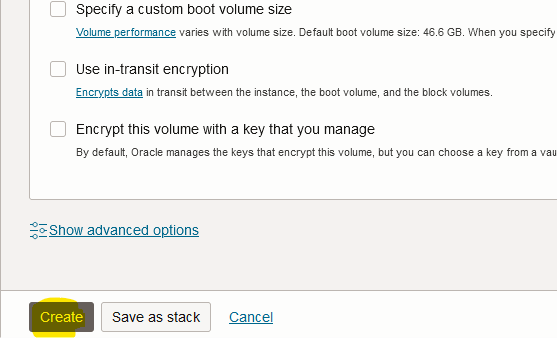
The process used to create two worker nodes is pretty much the same so, the table below summarizes it.
| Instance name | Compartment | Image | Shape OCPUs | Shape memory | Networking VCN | Networking subnet | Networking public IPv4 address | SSH keys |
| Control-plane | cubeClusterCompartment | Canonical Ubuntu 22.04 | 2 | 12 GB | kubeclustervcn | public subnet- clustervcn | Yes | “Generate a key pair for me” Save the private key |
| Worker-01 | cubeClusterCompartment | Canonical Ubuntu 22.04 | 1 | 6 GB | kubeclustervcn | public subnet- clustervcn | Yes | “Generate a key pair for me” Save the private key |
| Worker-02 | cubeClusterCompartment | Canonical Ubuntu 22.04 | 1 | 6 GB | kubeclustervcn | public subnet- clustervcn | Yes | “Generate a key pair for me” Save the private key |
Installing kubeadm, kebeles and kubectl (ALL NODES)
We should run these commands on the control-plane node and our worker nodes.
- Update the apt package index and install packages needed to use the Kubernetes apt repository.
sudo apt-get update
sudo apt-get install -y apt-transport-https ca-certificates curl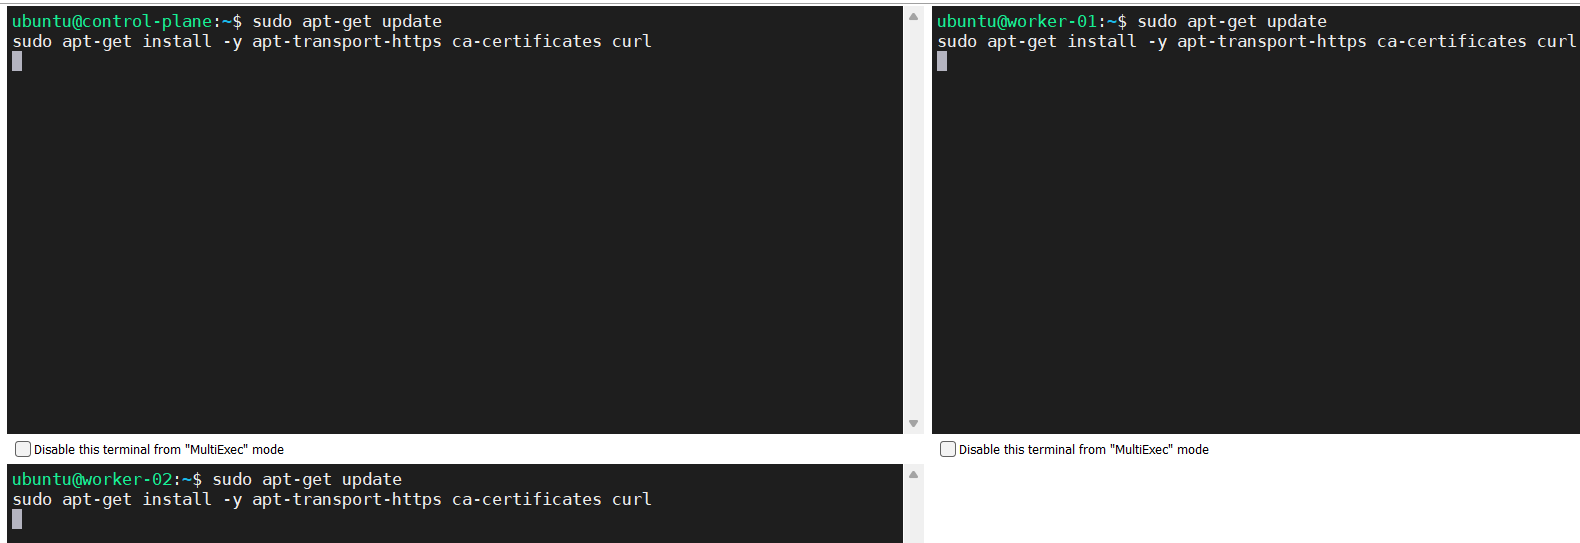
- Download the Google Cloud public signing key.
curl -fsSL https://packages.cloud.google.com/apt/doc/apt-key.gpg | sudo gpg --dearmor -o /etc/apt/keyrings/kubernetes-archive-keyring.gpg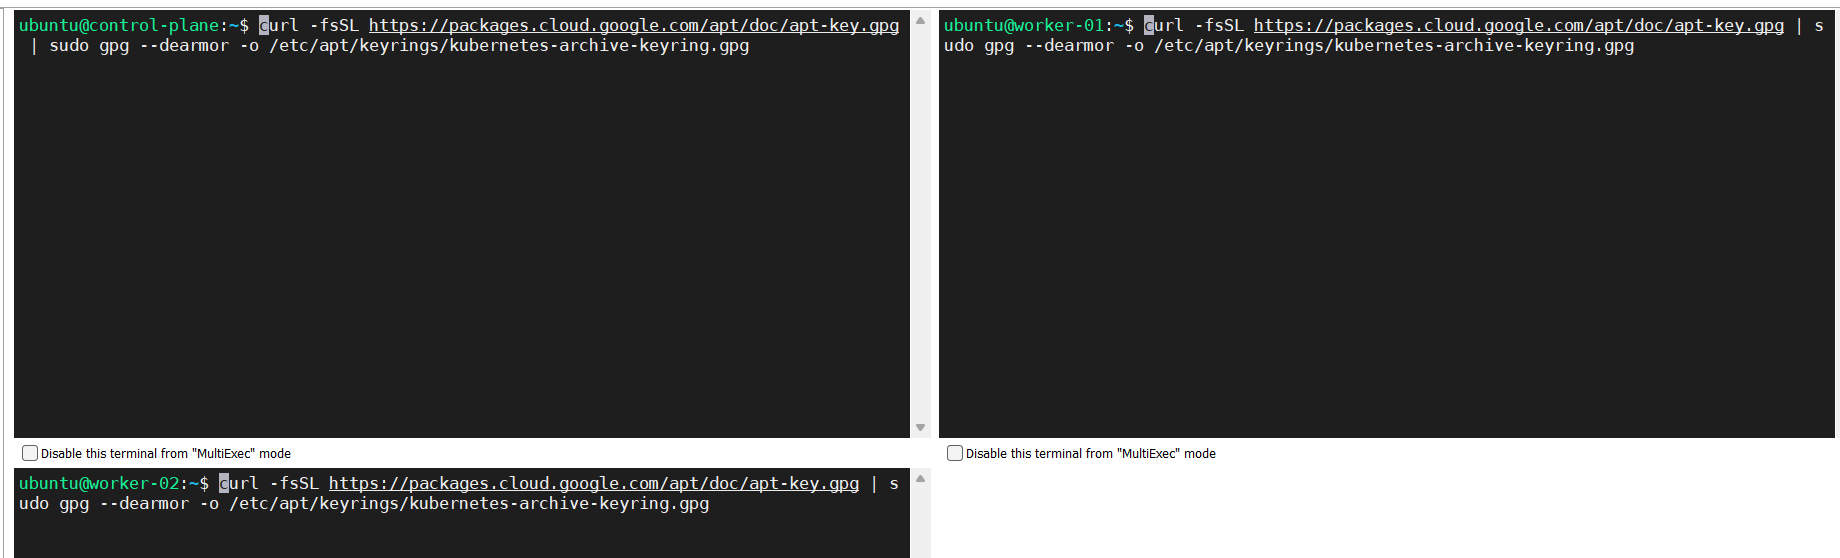
- Add the Kubernetes apt repository.
echo "deb [signed-by=/etc/apt/keyrings/kubernetes-archive-keyring.gpg] https://apt.kubernetes.io/ kubernetes-xenial main" | sudo tee /etc/apt/sources.list.d/kubernetes.list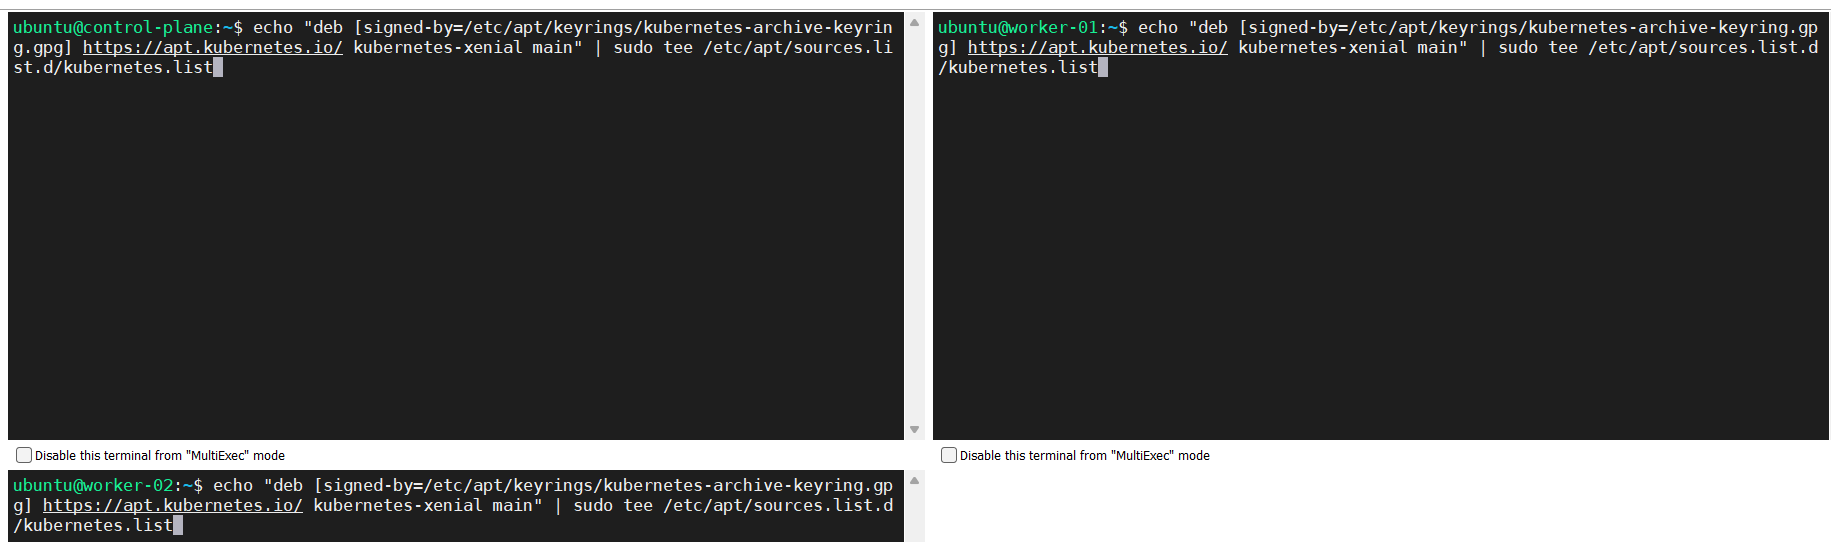
- Update apt package index, install kubelet, kubeadm and kubectl, and pin their version.
sudo apt-get update
sudo apt-get install -y kubelet kubeadm kubectl
sudo apt-mark hold kubelet kubeadm kubectl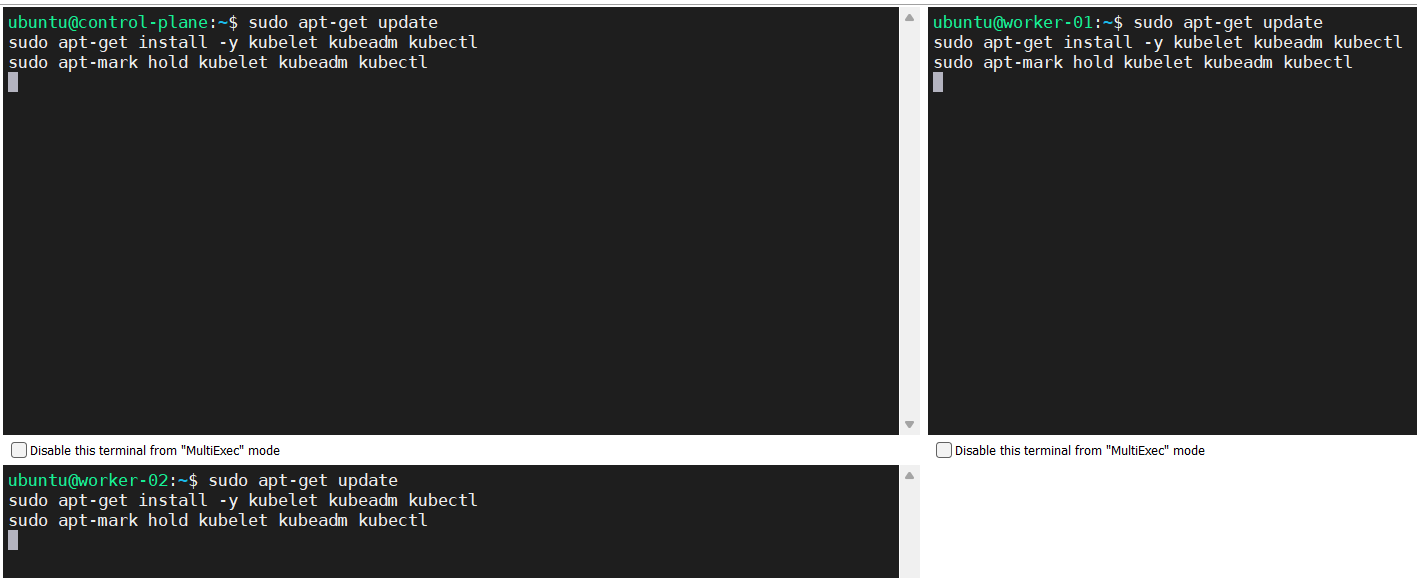
Source: https://kubernetes.io/docs/setup/production-environment/tools/kubeadm/install-kubeadm/
Installing a Container Runtime Interface (CRI) (ALL NODES)
In this case we are going to install containerd
Forwarding IPv4 and letting iptables see bridged traffic
Source: https://kubernetes.io/docs/setup/production-environment/container-runtimes/
- Perform below configuration.
cat<<EOF | sudo tee /etc/modules-load.d/k8s.conf
overlay
br_netfilter
EOF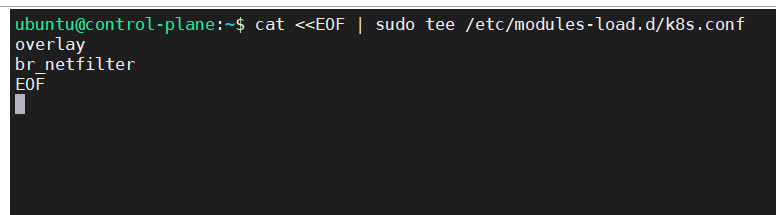
sudo modprobe overlay
sudo modprobe br_netfilter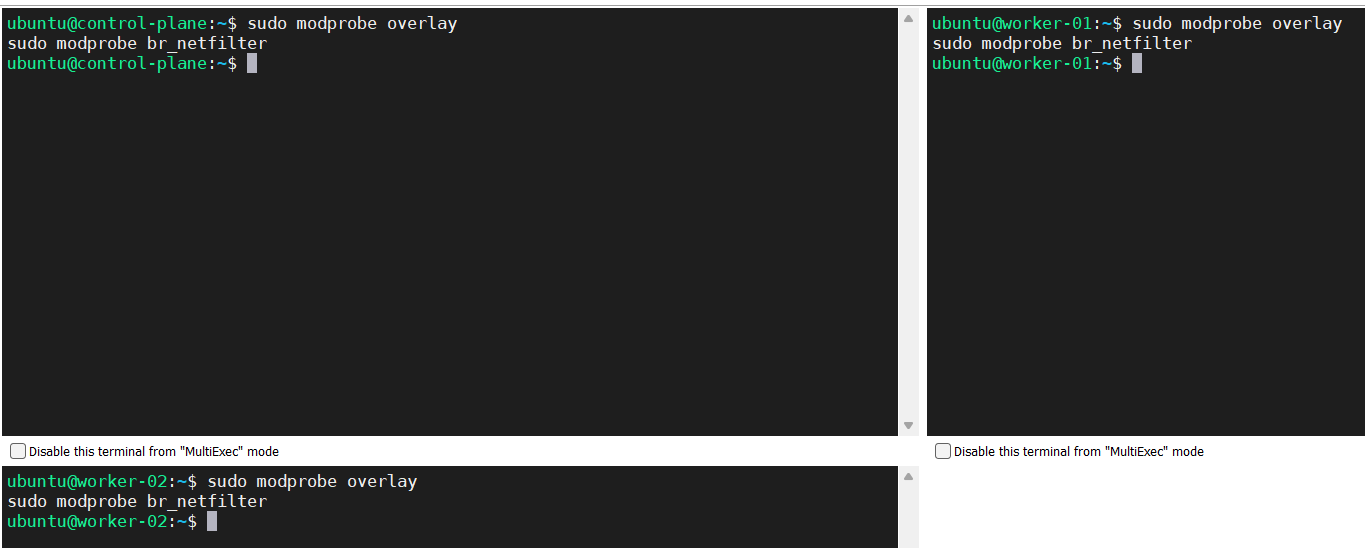
# sysctl params required by setup, params persist across reboots
sudo cat<<EOF | sudo tee /etc/sysctl.d/k8s.conf
net.bridge.bridge-nf-call-iptables  = 1
net.bridge.bridge-nf-call-ip6tables = 1
net.ipv4.ip_forward                 = 1
EOF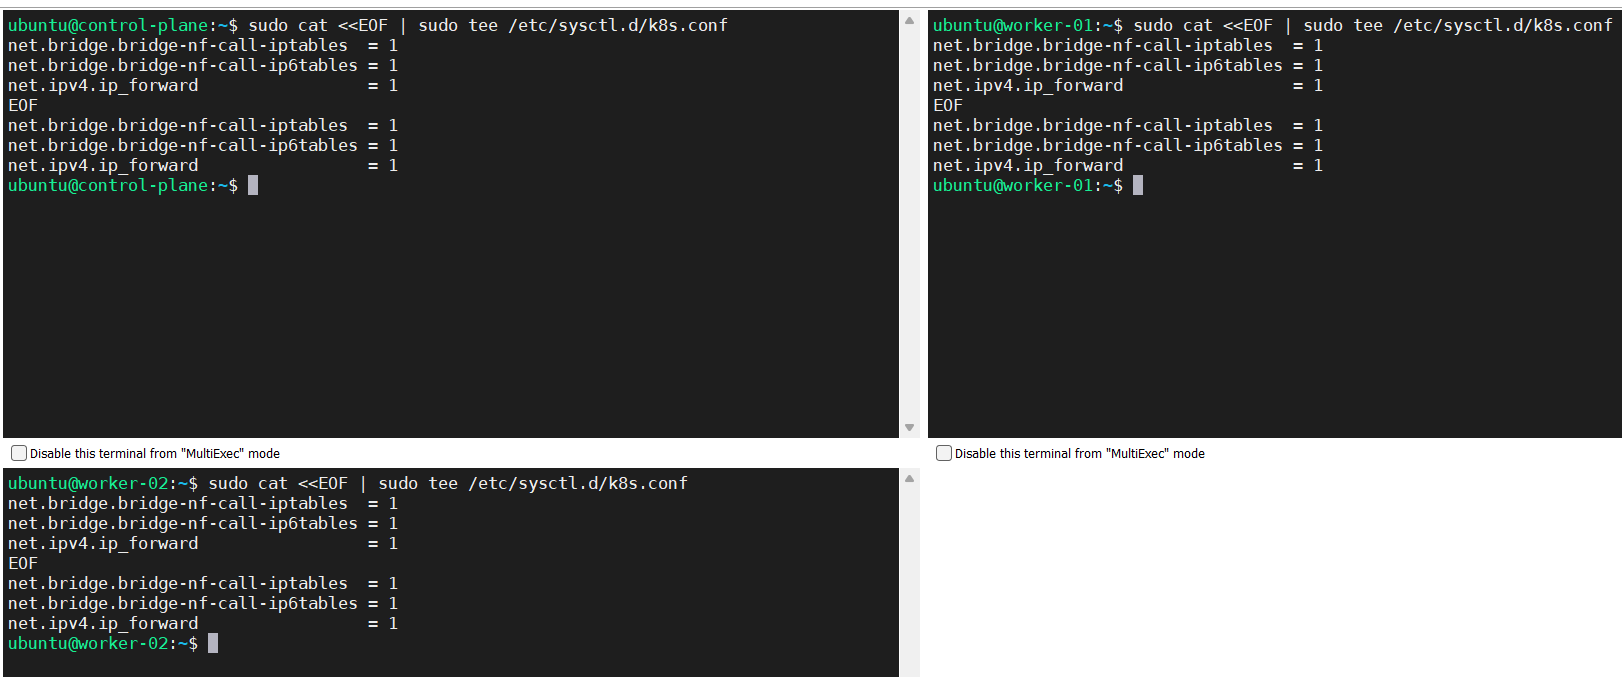
# Apply sysctl params without reboot
sudo sysctl –system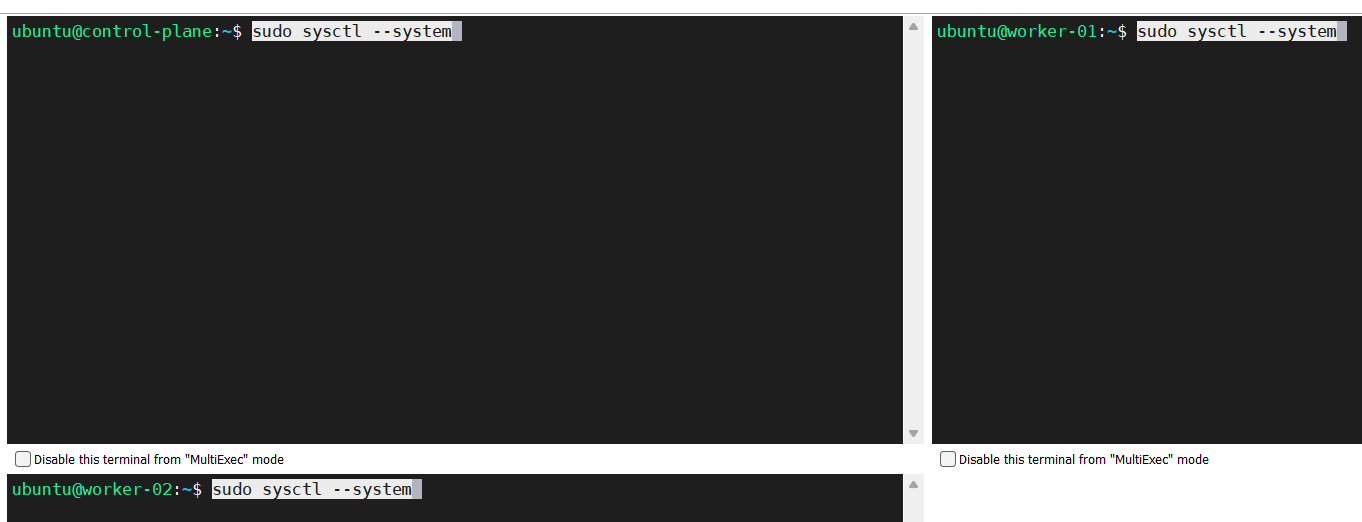
- Verify that the br_netfilter, overlay modules are loaded by running the following commands.
lsmod | grep br_netfilter
lsmod | grep overlay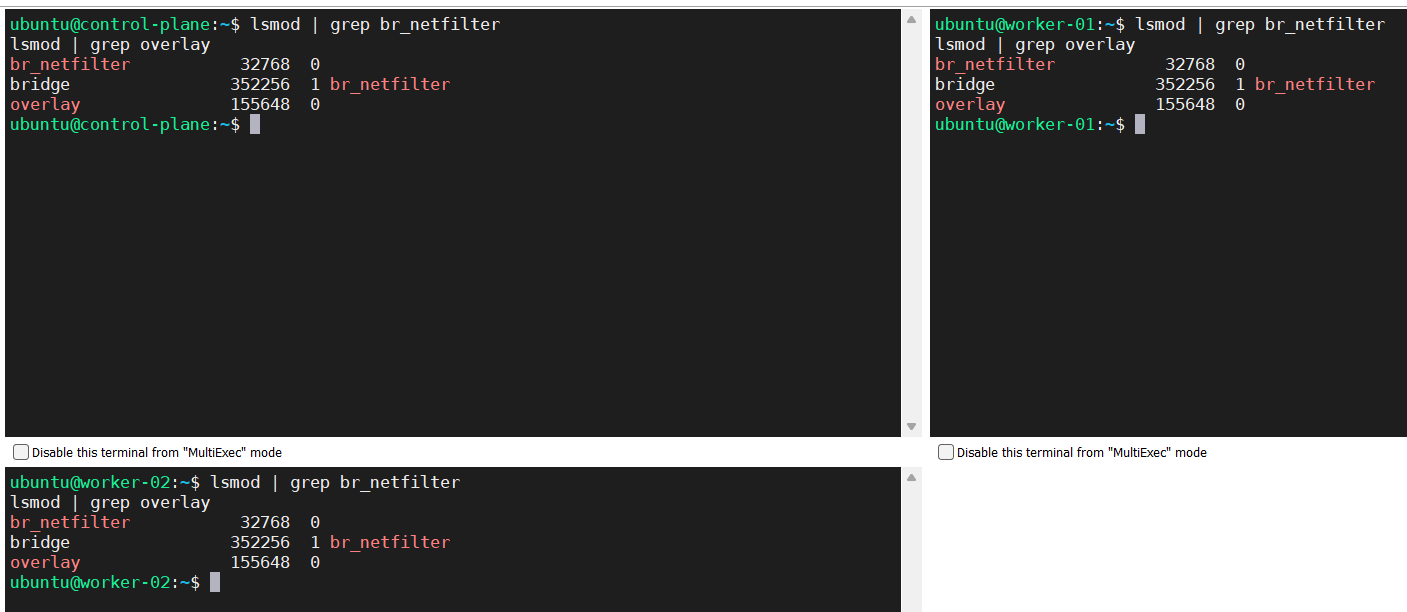
- Verify that the net.bridge.bridge-nf-call-iptables, net.bridge.bridge-nf-call-ip6tables, and net.ipv4.ip_forward system variables are set to 1 in your sysctl config by running the following command.
sysctl net.bridge.bridge-nf-call-iptables net.bridge.bridge-nf-call-ip6tables net.ipv4.ip_forward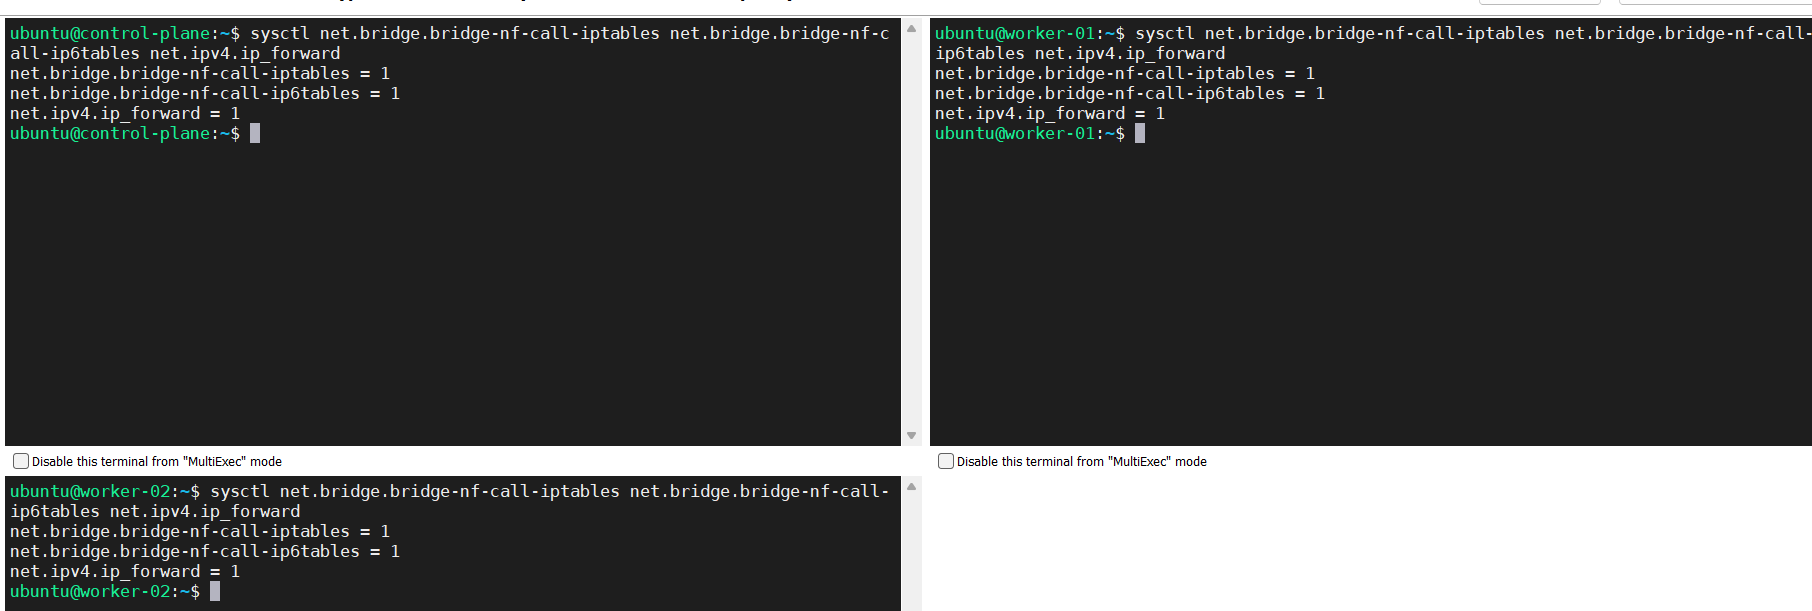
Installing containerd
Source: https://github.com/containerd/containerd/blob/main/docs/getting-started.md
- Get the official binary according to the Linux distribution and the hardware you are using; in our case.
wget https://github.com/containerd/containerd/releases/download/v1.7.2/containerd-1.7.2-linux-arm64.tar.gz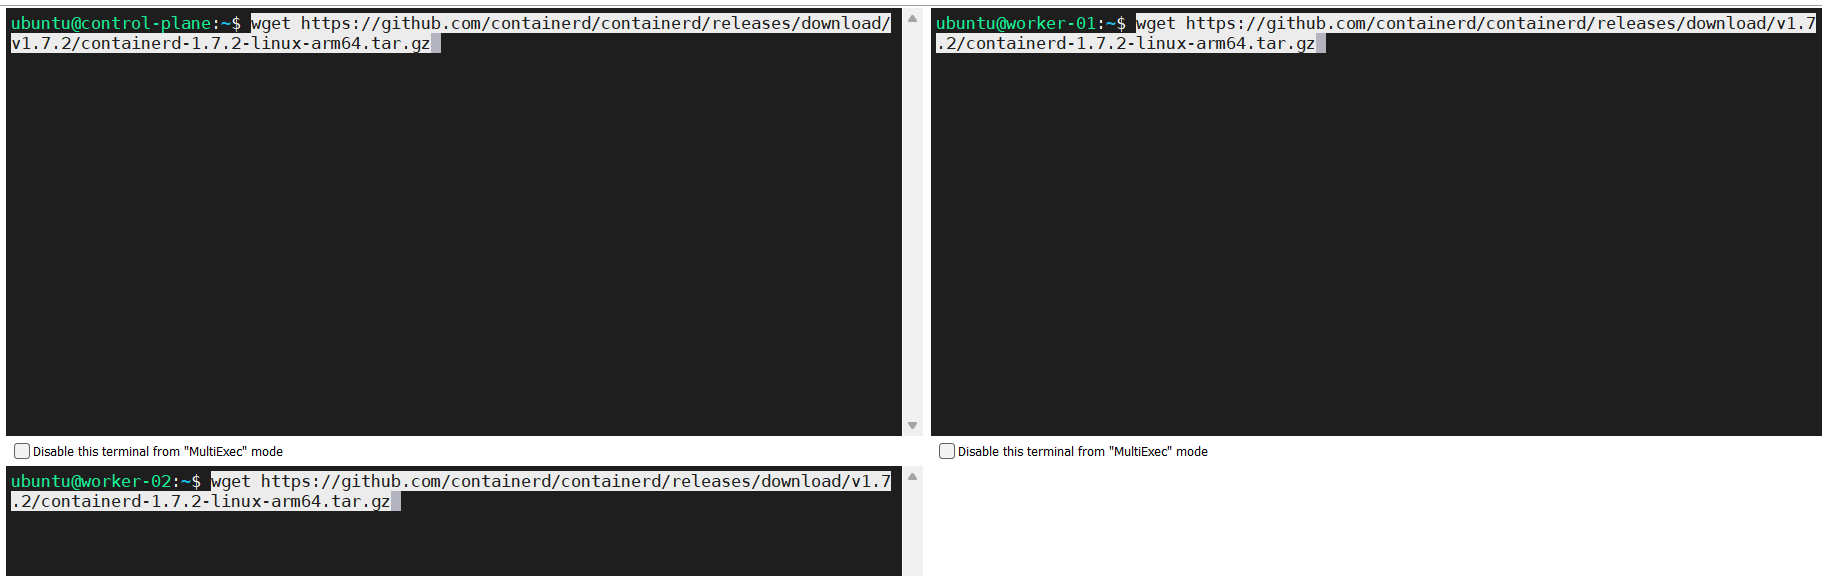
- Unpack the binary.
sudo tar Cxzvf /usr/local containerd-1.7.2-linux-arm64.tar.gz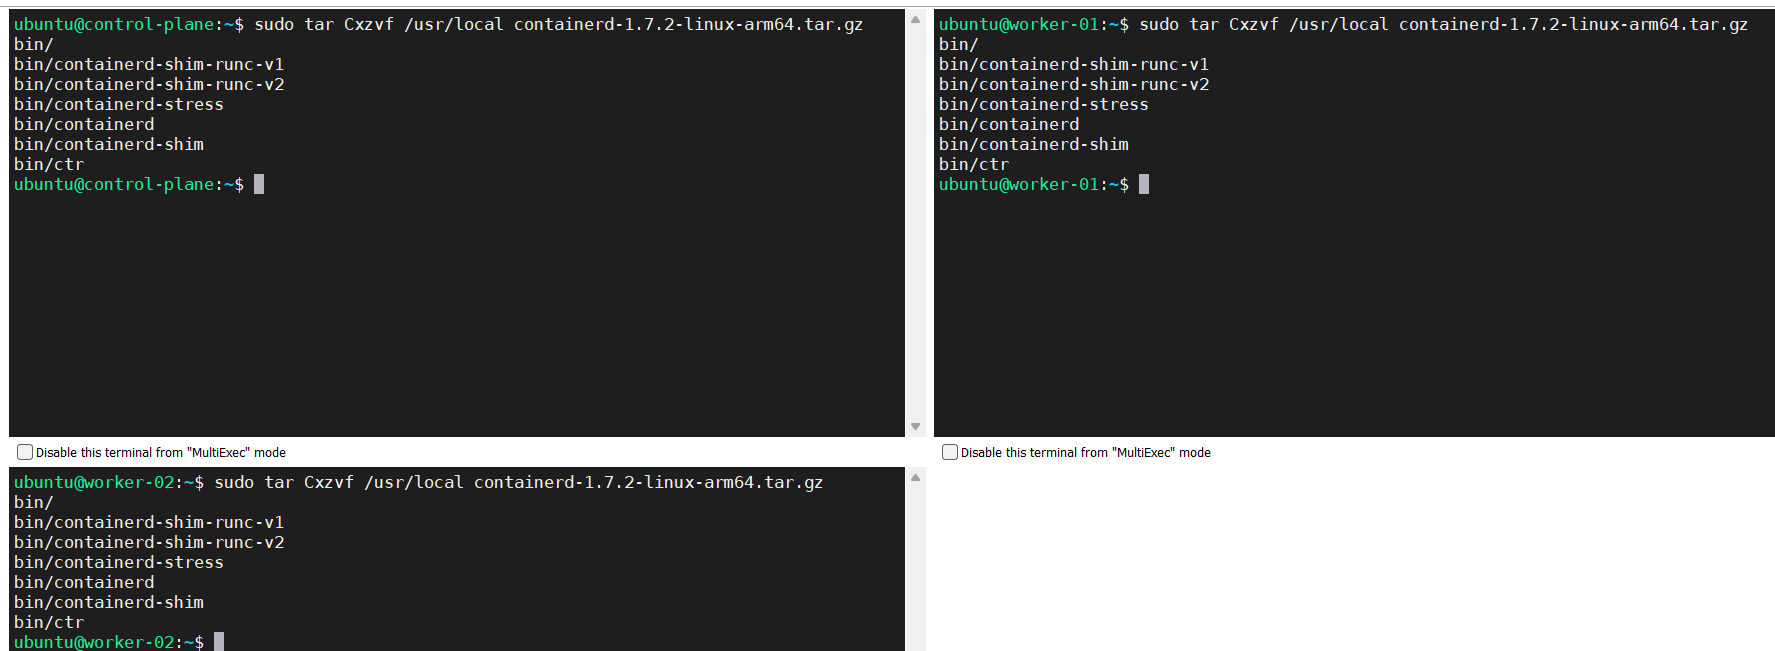
- Configuring systemd by executing below commands.
wget https://raw.githubusercontent.com/containerd/containerd/main/containerd.service
sudo cp containerd.service /lib/systemd/system/containerd.service
sudo systemctl daemon-reload
sudo systemctl enable --now containerd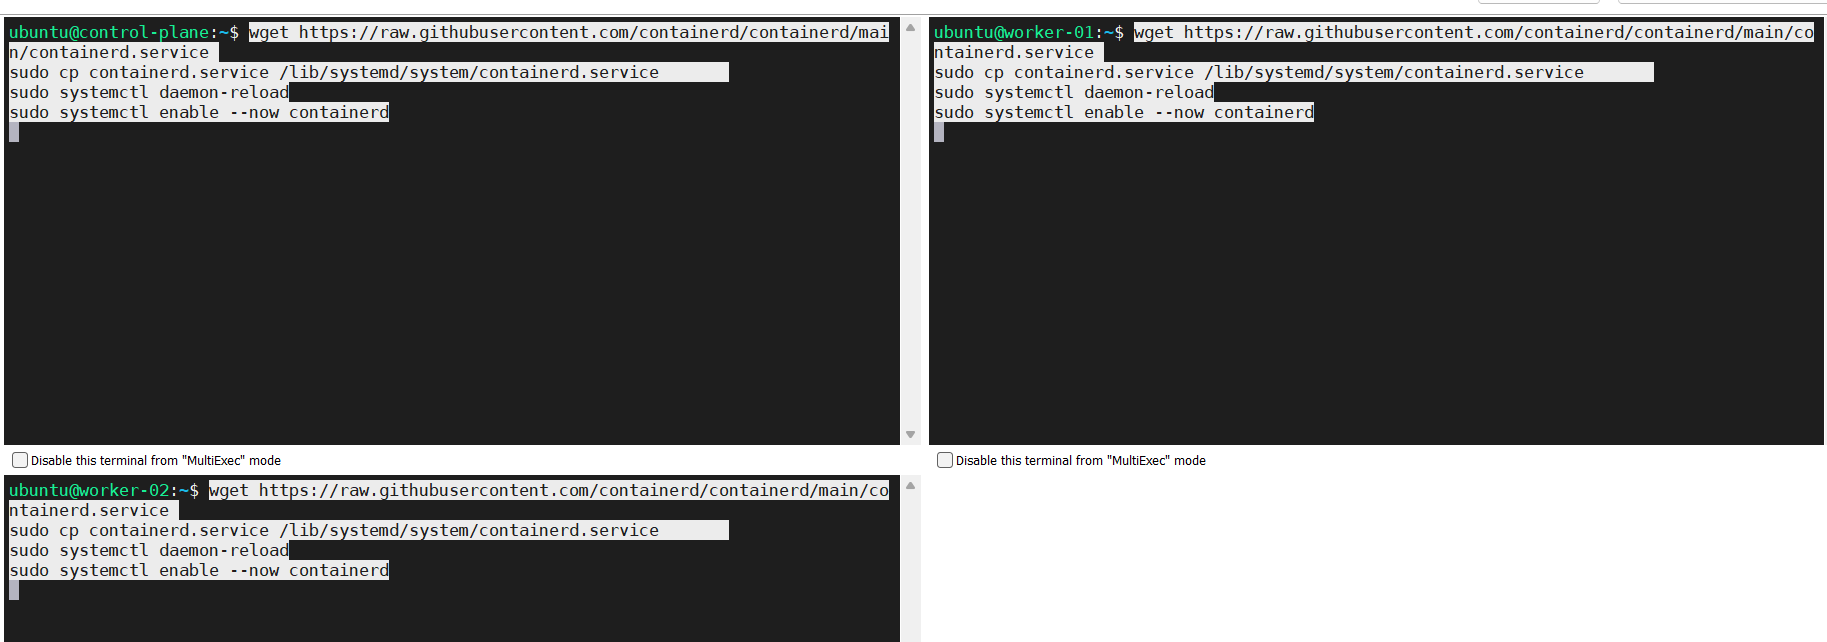
- Check the containerd service
systemctl status containerd.service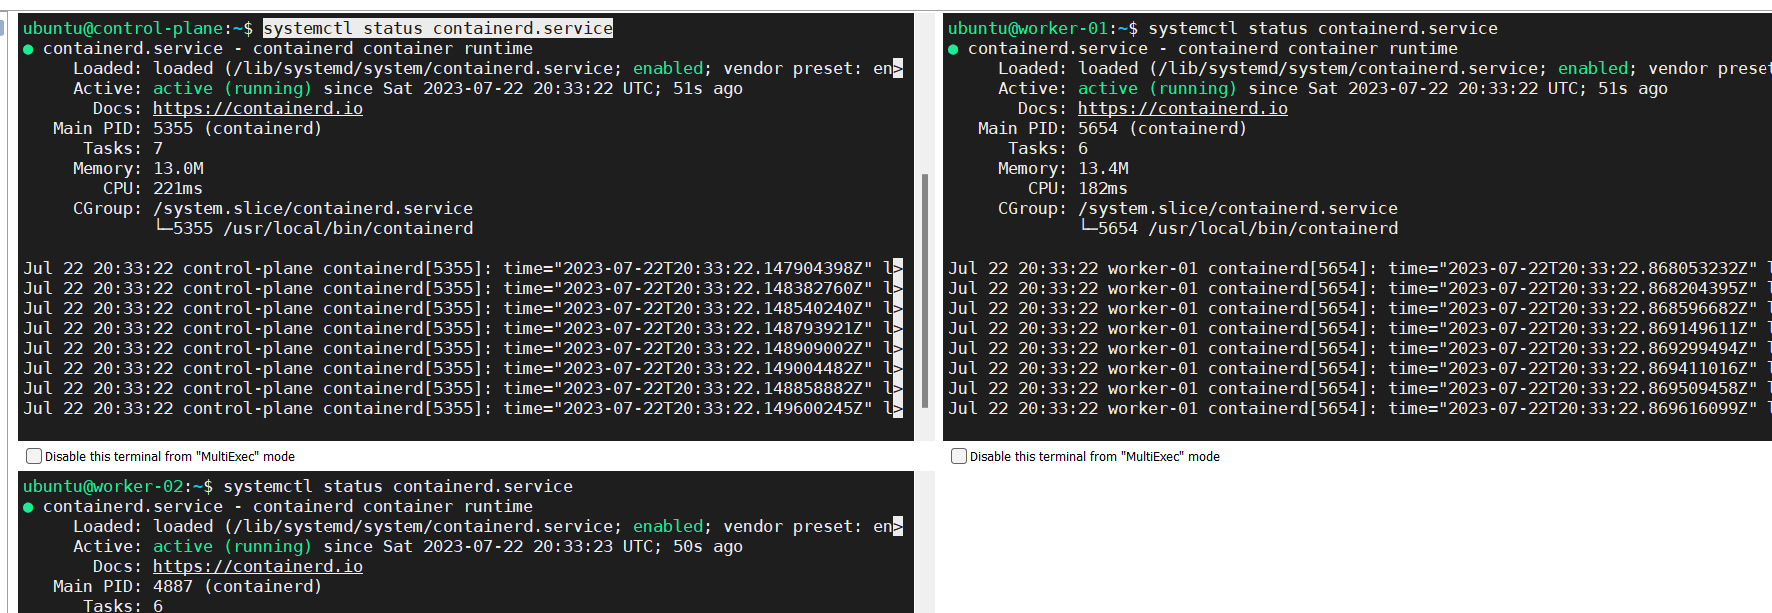
Installing runc
Source: https://github.com/containerd/containerd/blob/main/docs/getting-started.md
Get the proper binary for your Linux distribution and hardware and then install it by using the commands below.
wget https://github.com/opencontainers/runc/releases/download/v1.1.8/runc.arm64
sudo install -m 755 runc.arm64 /usr/local/sbin/runc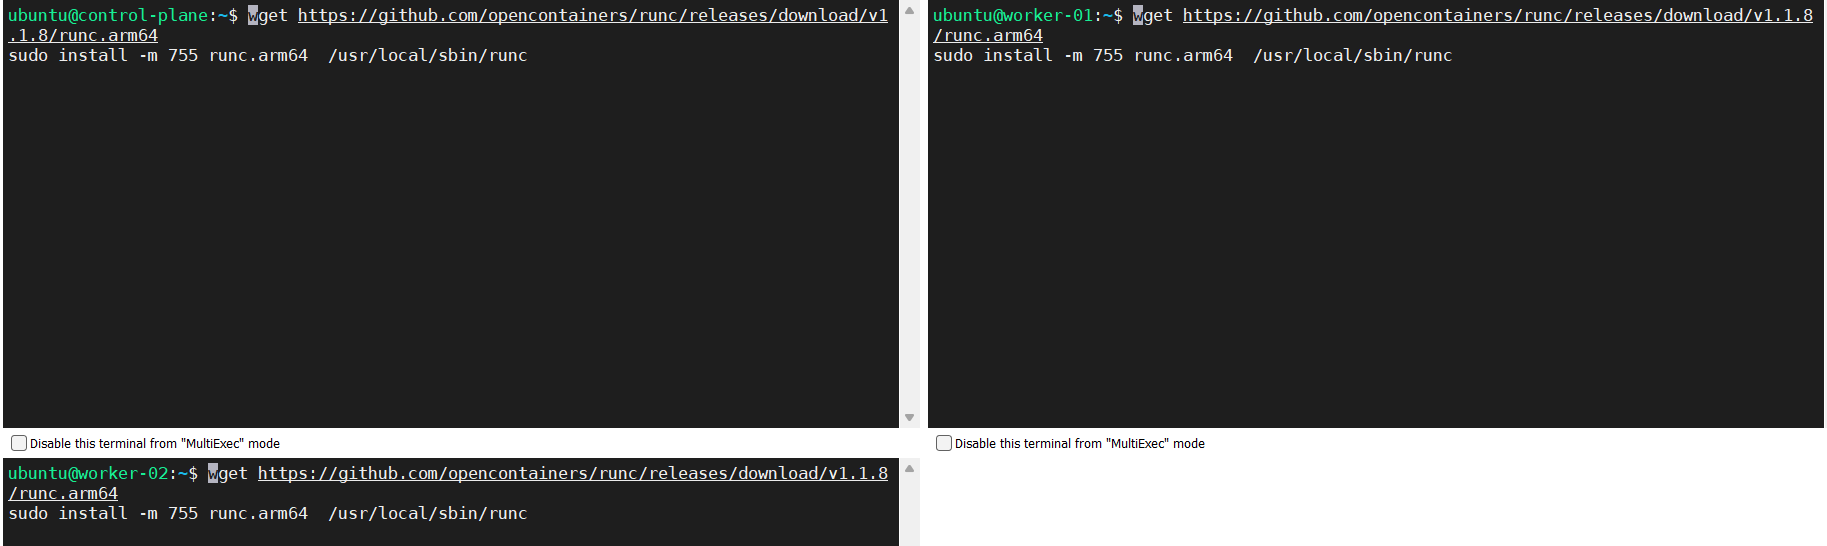
Installing CNI plugins
Source: https://github.com/containerd/containerd/blob/main/docs/getting-started.md
Get the proper binary for your Linux distribution and hardware and then install it by using the commands below.
wget https://github.com/containernetworking/plugins/releases/download/v1.3.0/cni-plugins-linux-arm-v1.3.0.tgz
sudo mkdir -p /opt/cni/bin
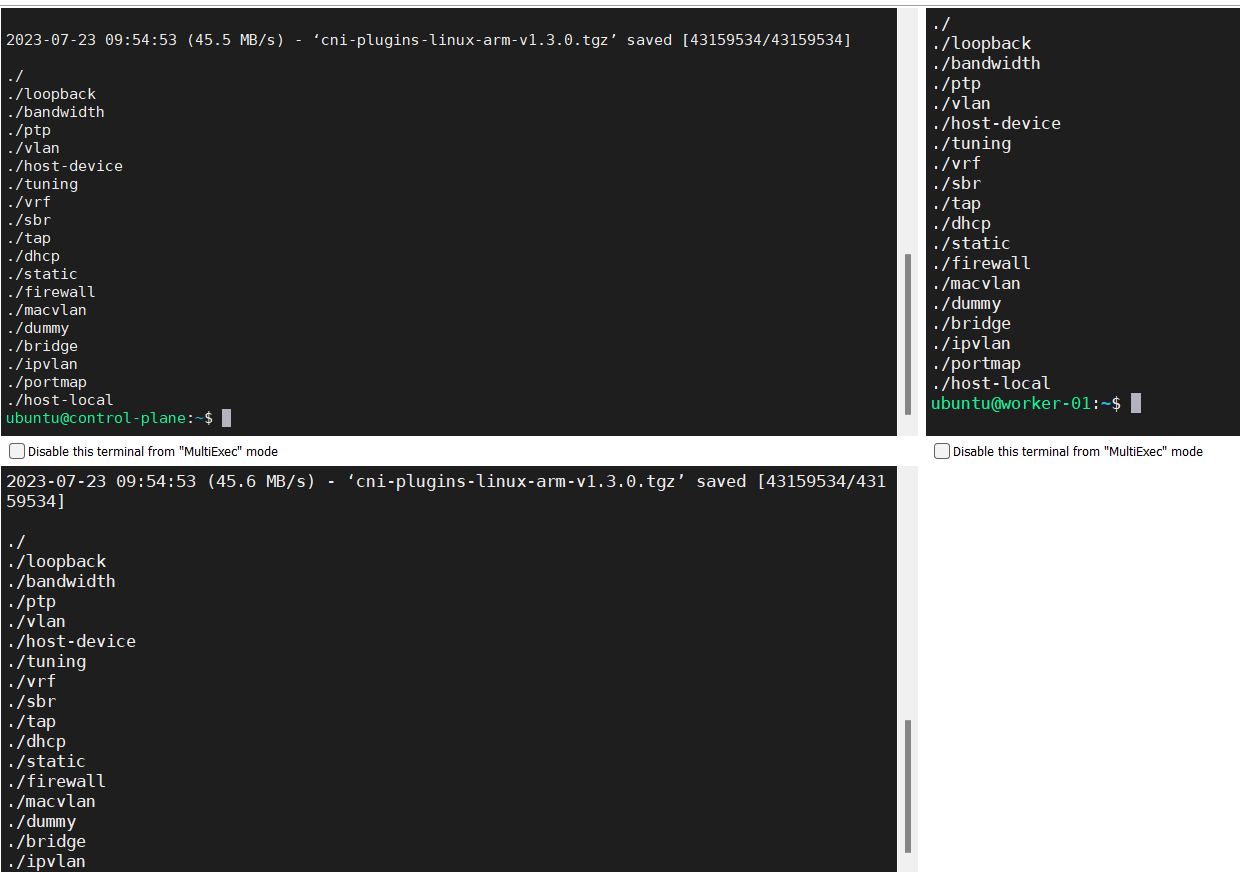
sudo tar Cxzvf /opt/cni/bin cni-plugins-linux-arm-v1.3.0.tgz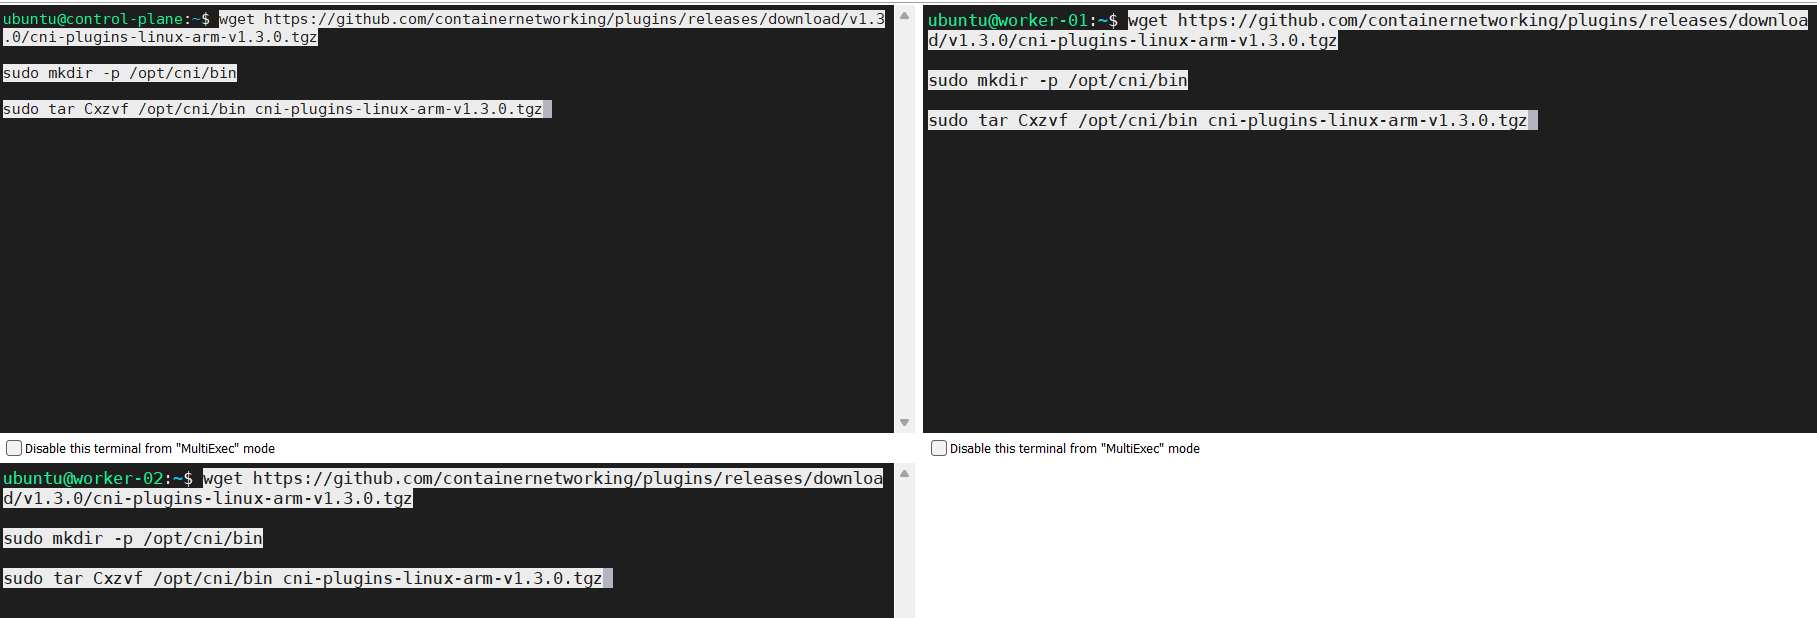
You should have an outcome similar to this.
Creating /etc/containerd/config.toml
Source: https://github.com/containerd/containerd/blob/main/docs/getting-started.md
Execute the below commands to create the “config.toml” file with default values.
sudo mkdir /etc/containerd/
sudo su -
containerd config default > /etc/containerd/config.toml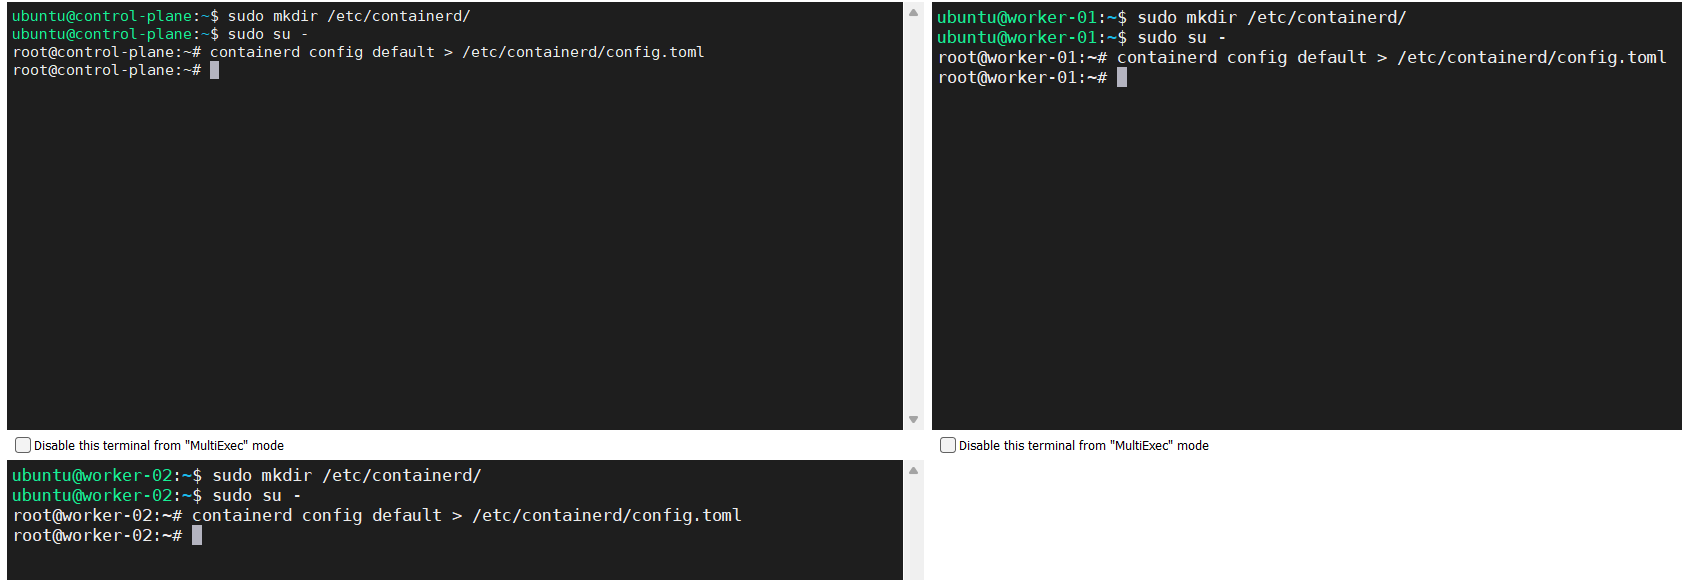
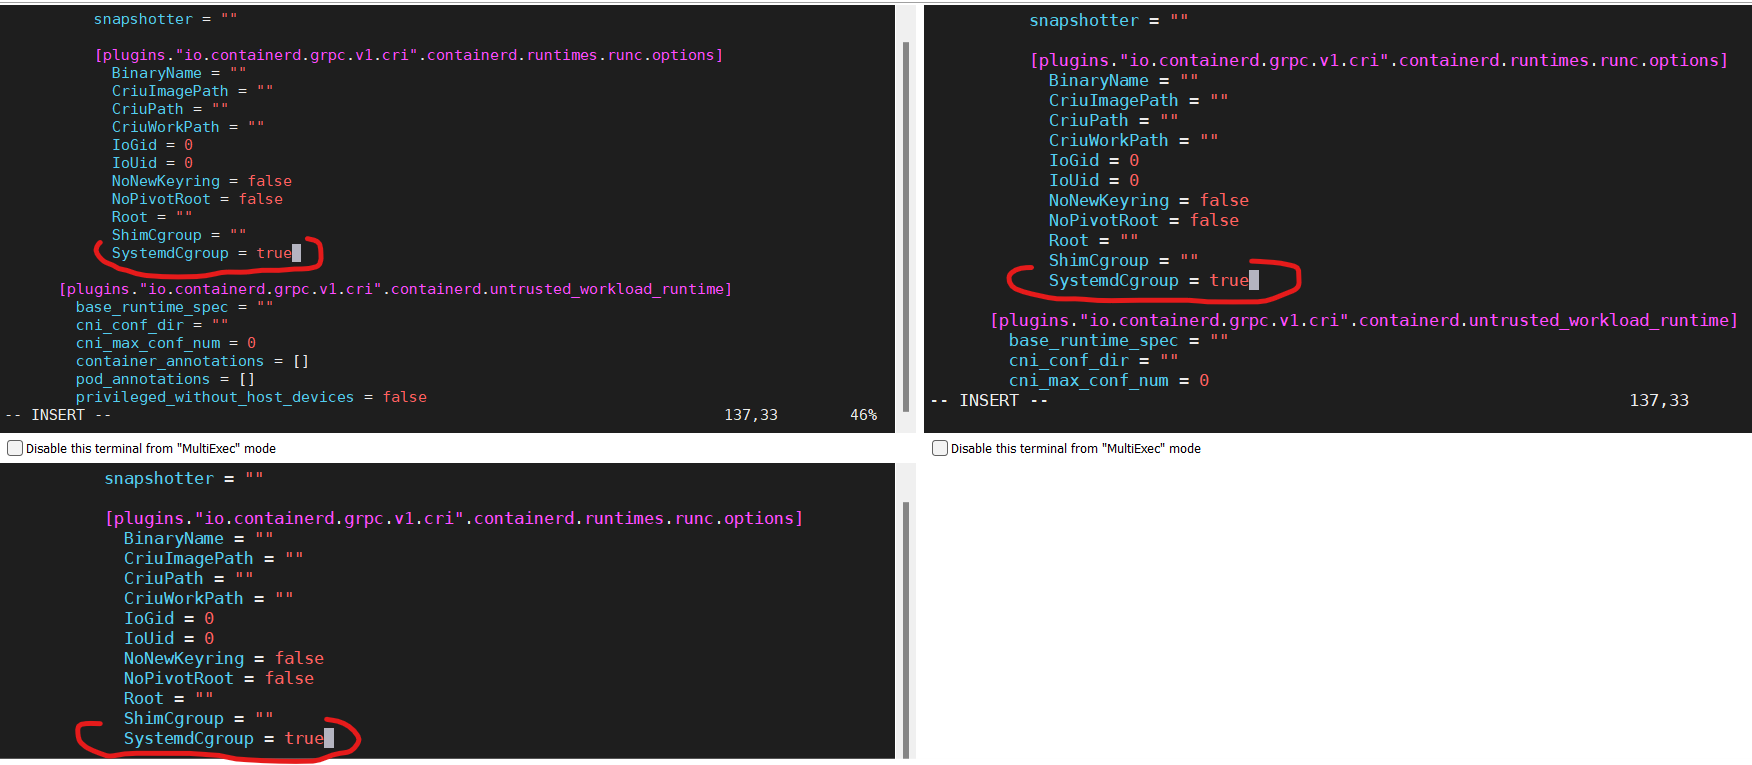
Configuring the systemd cgroup driver
Source: https://kubernetes.io/docs/setup/production-environment/container-runtimes/#containerd
To use the systemd cgroup driver in /etc/containerd/config.toml with runc, follow below instructions.
sudo vi /etc/containerd/config.tomlThen set SystemdCgroup to true as is shown below.
[plugins.”io.containerd.grpc.v1.cri”.containerd.runtimes.runc]
…
[plugins.”io.containerd.grpc.v1.cri”.containerd.runtimes.runc.options]
…
SystemdCgroup = true <——–
sudo systemctl restart containerdsudo systemctl restart kubelet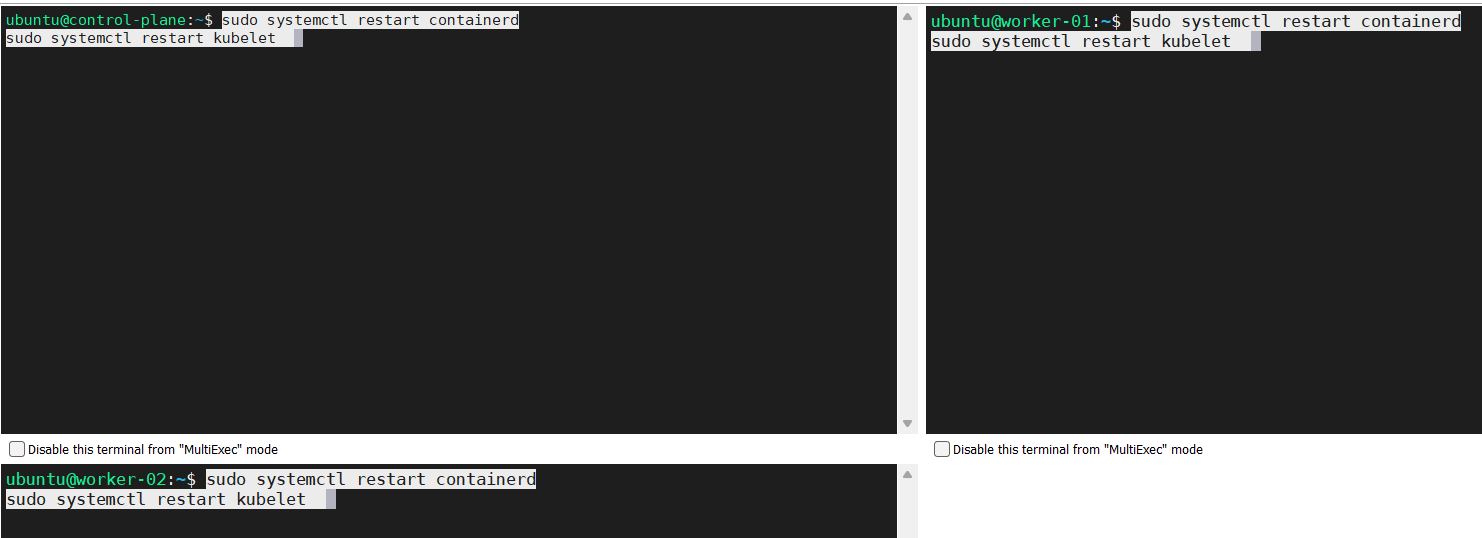
Initializing your control-plane node (control-plane node)
This is the moment we have been waiting for
- Go to control-plane node.
- Run this command.
sudo kubeadm init --v=5 - If everything goes well, you will see an outcome like this.
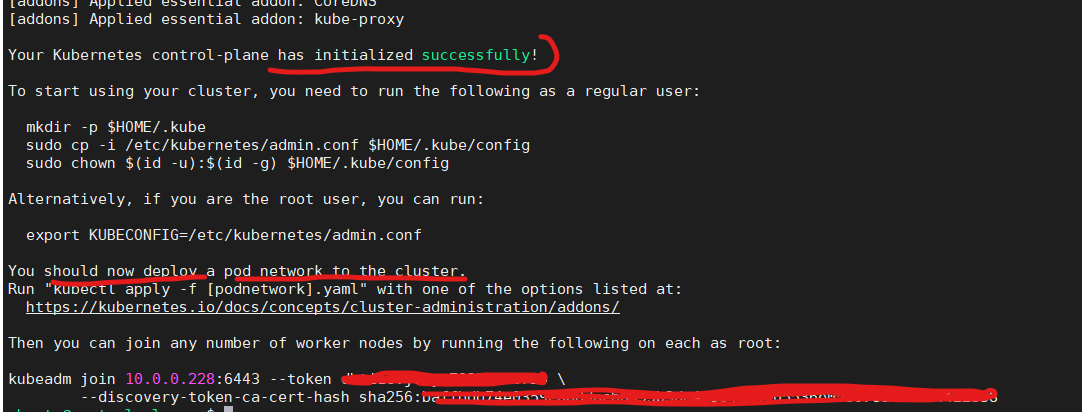
Above figure shows that we should deploy a pod network, we will see this below. Please save the information regarding the token and hash as this will be needed to add worker nodes to the cluster.
Preparing the cluster to add worker nodes
Let’s follow the steps below.
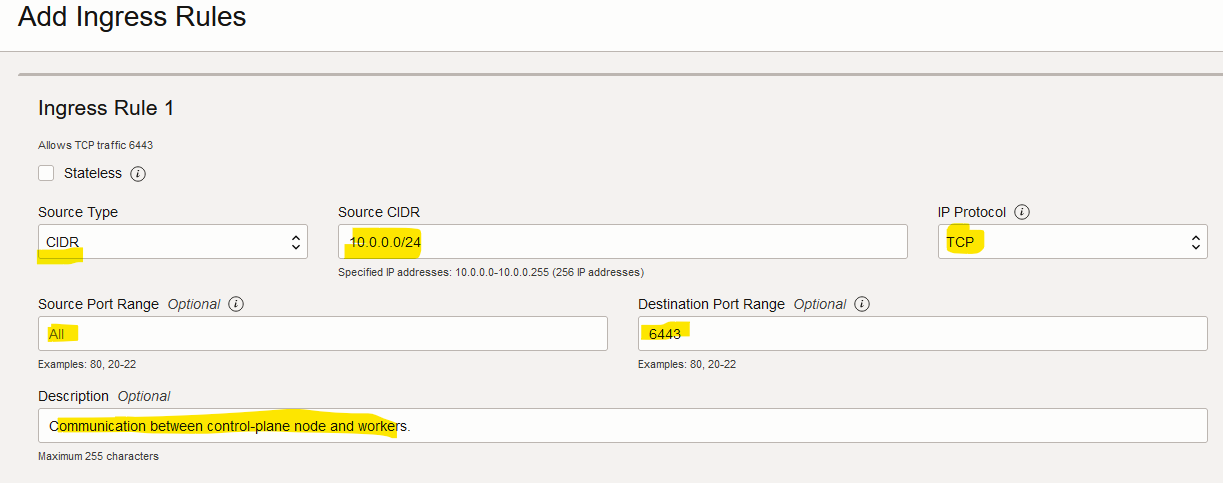
Configuring the VCN on OCI to allow the traffic on port 6443
This is important as worker nodes will try to contact the control-plane node via port 6443.
- Go to OCI console.
- Click on “Networking > Virtual cloud networks”.
- Click on the VCN the Kubernetes cluster is using.
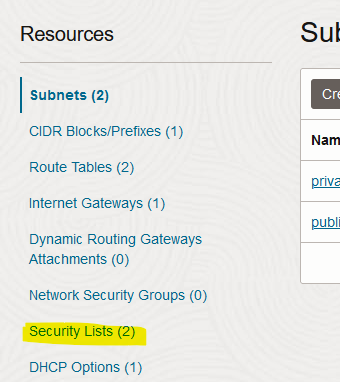
- Click on “Security Lists”.
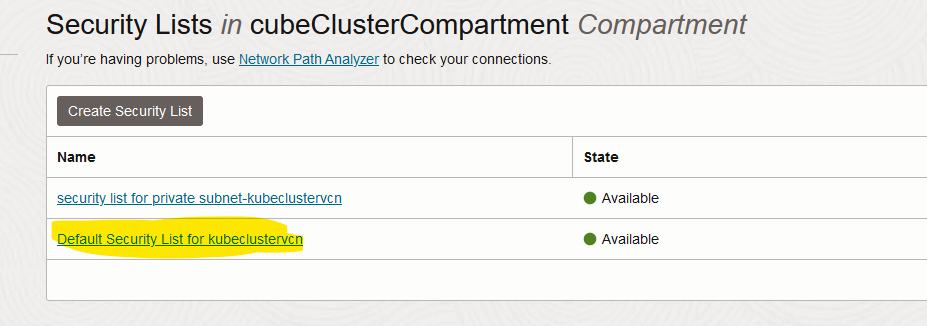
- Choose the default security list.
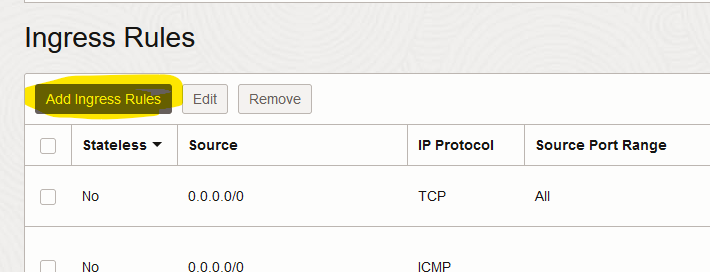
- Click on “Add Ingress Rules”.
- Fill in the form and click on “Add Ingress Rules”
Configuring iptables to allow traffic throughout port 6443 (control-plane node)
This configuration will be gone after rebooting the control-plane node, which is fine as we need it just once to join the worker nodes to the cluster.
Execute the below command.
sudo iptables -I INPUT -p tcp -m state --state NEW,ESTABLISHED -m tcp --dport 6443 -m comment --comment "Required for Kubernetes." -j ACCEPT
Adding worker nodes to the Kubernetes cluster
Follow the below instructions.
- If you lose the token to join worker nodes, get a new one with below command in control-plane node.
sudo kubeadm token create --print-join-command
- Execute the generated command on every worker node; in our case we have two nodes.
sudo kubeadm join 10.0.0.228:6443 --token fvnkpq.5nuyu1o3064fryn4 --discovery-token-ca-cert-hash sha256:baffbdb7b6993bdc41384ca46053536e05b04e0359e8b8dac78a22e6a4422358 - If everything goes well, you will see this.

Checking the nodes and pods with kubectl
- Go to the control-plane node and become root.
- Set this variable.
export KUBECONFIG=/etc/kubernetes/admin.conf - Execute the command below to check the nodes.
kubectl get nodes -o wide
- Execute the command below to check the pods.
kubectl get pods -A -o wide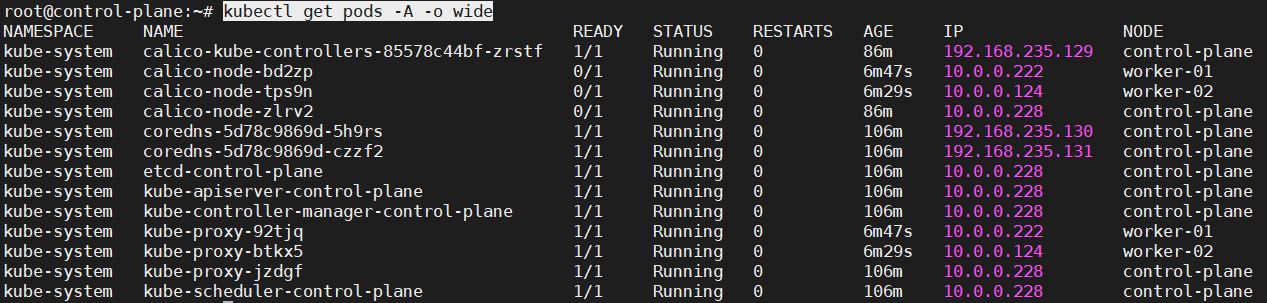
Conclusion
This guide is intended for those who are learning Kubernetes and need a cluster. We have gone through the whole process of installing a Kubernetes cluster, which can be used to run your experiments, to learn more about this amazing technology, etc. I hope the guide is useful so, whoever is reading this can leverage the power of containers.
I have not used configuration as code because my original idea was to go through the process step by step to get familiarized with Kubernetes.
Congratulations!!! I hope at this point you have a new Kubernetes cluster.

Leave a comment