- Connecting the laptop to the switch
- Getting the command line interface (CLI)
- Configuring System Properties
- Showing Power over Ethernet (PoE) configuration for a port
- Enabling loopback-detection
This is part of a personal network lab project and then I will use this to document the configuration of the switch that I will be using for the connectivity of my lab.
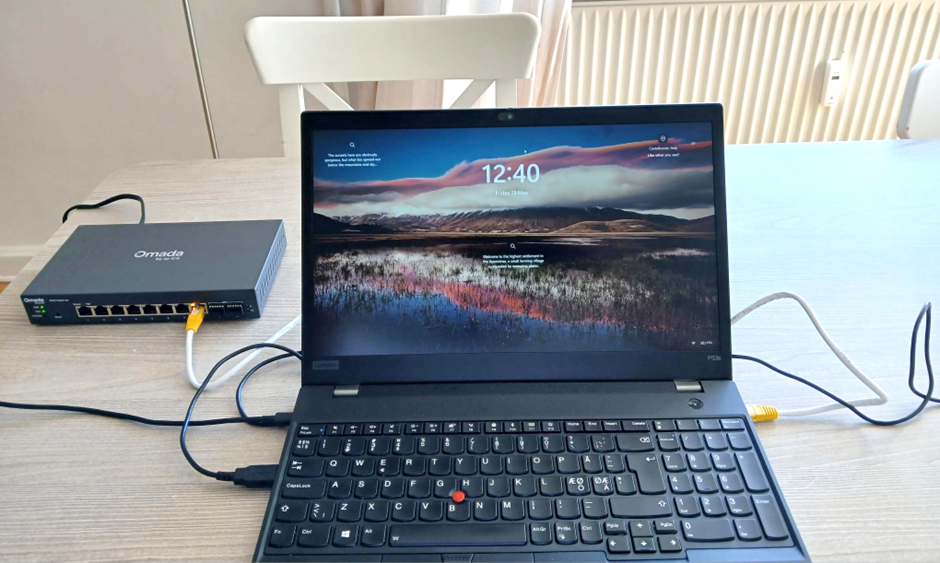
Connecting the laptop to the switch
In this case I am using a SG2210XMP-M2 v1.20 Omada switch by tp-link. According to the documentation, the IP of the switch is 192.168.0.1; following the steps to connect the switch to a laptop, which will be used to configure the switch.
Connect the cable between the laptop and switch. In this case I am using a RJ45 UTP CAT6 cable.
As I still do not have a DHCP service, I will use configure my LAN to be in the same subnet as the switch by following these steps.
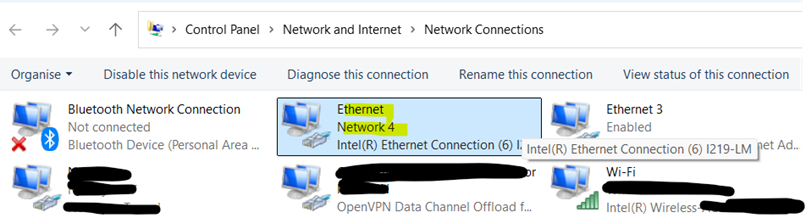
Go to Control Panel > Network and Internet > Network and Sharing Centre and then click on Change adapter settings.

In my case I want to configure this connection “Ethernet Network 4” as we can see below.
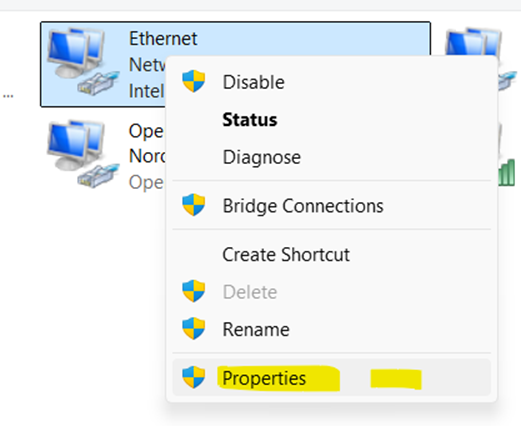
Right click and select properties
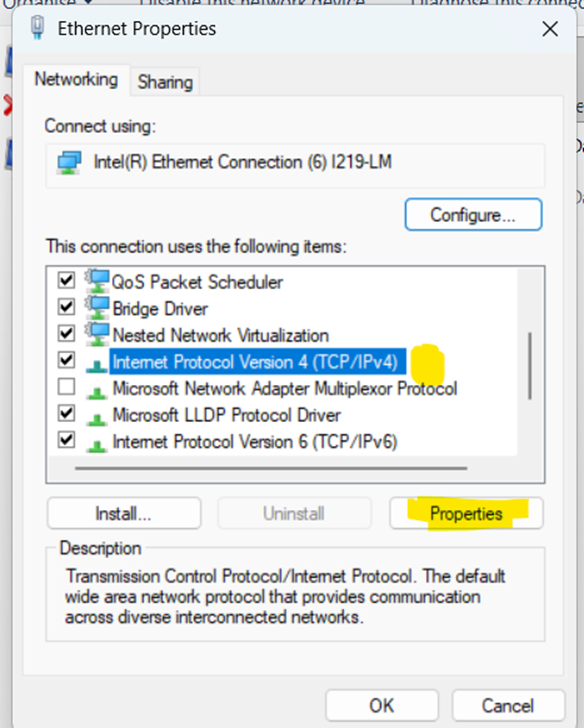
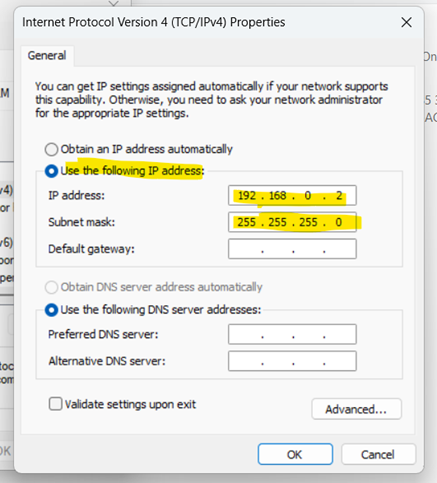
Select (TCP/IPv4) and then click on Properties
Basically, I am configuring a static IP in the same subnet as the switch. In this case the IP is 192.168.0.2 and the subnet mas is 255.255.255.0
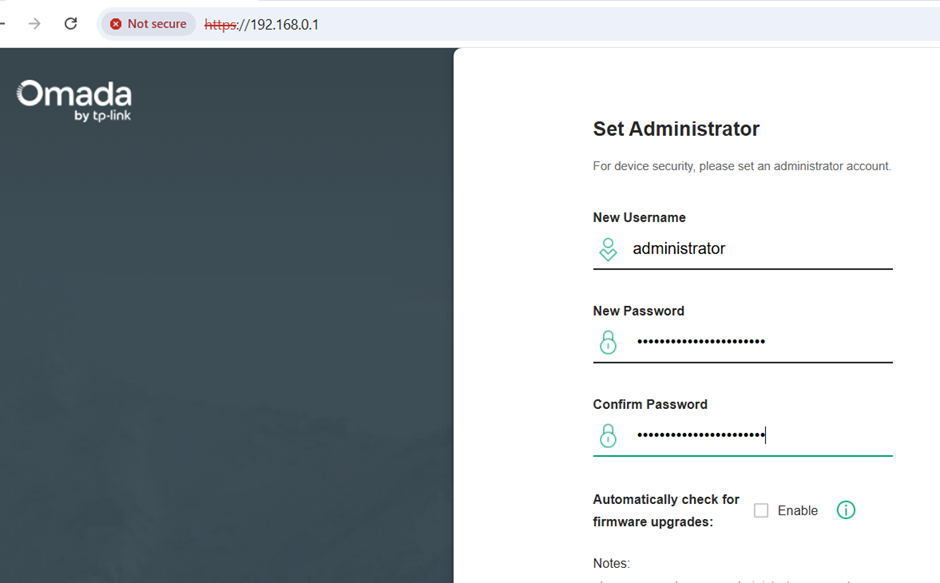
Now, if we try to use the http://192.168.0.1/ where you will have to setup the administration credentials.
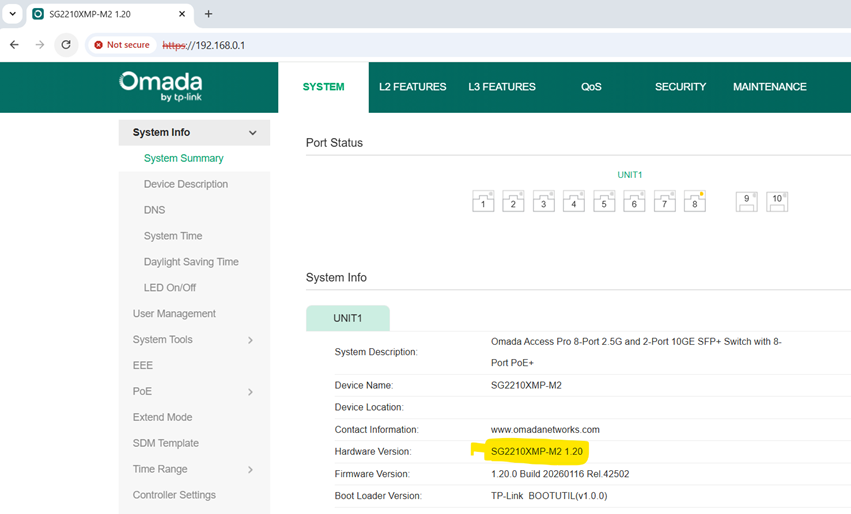
Now we have access to the switch as we can see below.
Getting the command line interface (CLI)
Following I show what I did to use SSH to configure the switch via CLI.
Checking whether SSH is enabled or not by using the GUI.
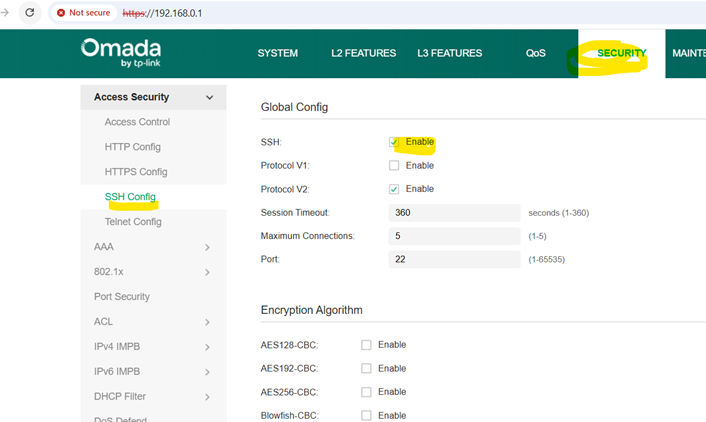
As SSH is enabled, we can run the following ssh command.
ssh administrator@192.168.0.1
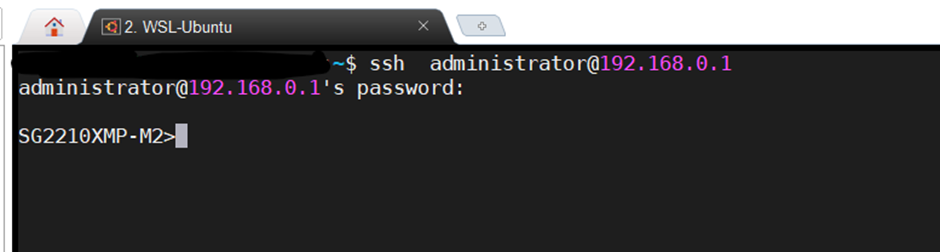
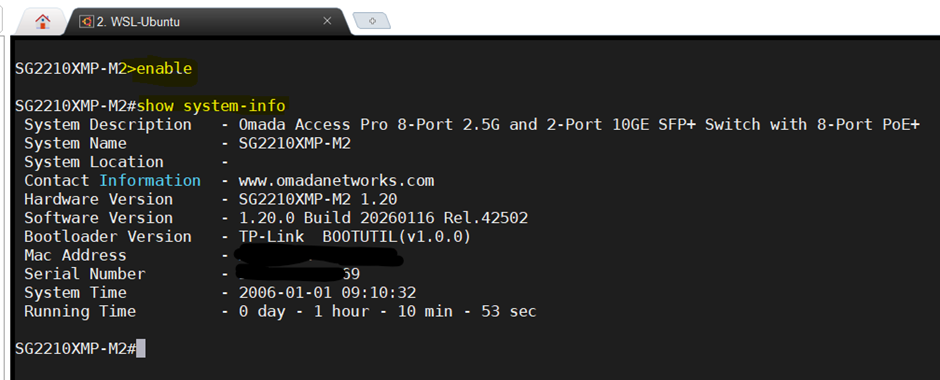
By default, we are in the User EXEC Mode, let’s type enable to get into Privileged EXEC mode and then let’s type show system-info to get information about this switch.
enableshow system-info
This is just the begining, starting from here we have two methods to configure the switch either by using the web GUI or the CLI.
Configuring System Properties
I am following the Omada user’s guide to run the following configuration
Configuring the hostname, location and system time
Following I am getting into the configuration mode to modify the hostname, location and system-time. At the end, you see the configuration is saved by copying the runtime configuration into the startup configuration
configurehostname SOME_NAMElocation Somewheresystem-time manual 06/19/2026-19:44:54copy running-config startup-configStart to save user config as the Next Startup Config file......Saving user config OK!end
Configuring the daylight-saving time
configuresystem-time dst predefined Europeendcopy running-config startup-config
Configuring Energy Efficient Ethernet (EEE)
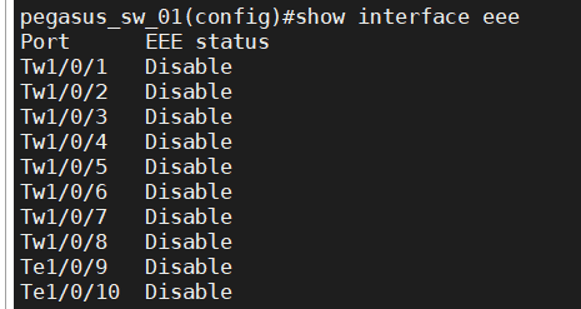
Let’s see the status of EEE
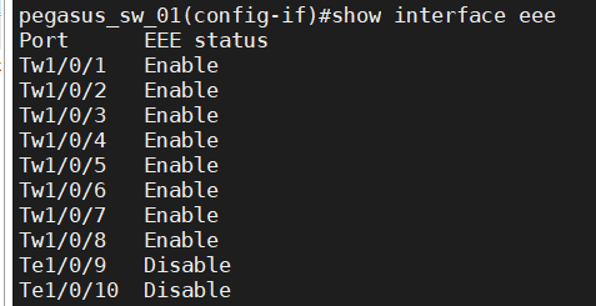
show interface eee
Here we can see the result of previous command.
Now, I show how to configure eee in some of the interfaces by using interface range command.
interface range two-gigabitEthernet 1/0/1,1/0/3eee
Now, let’s check the interfaces again.
show interface eee
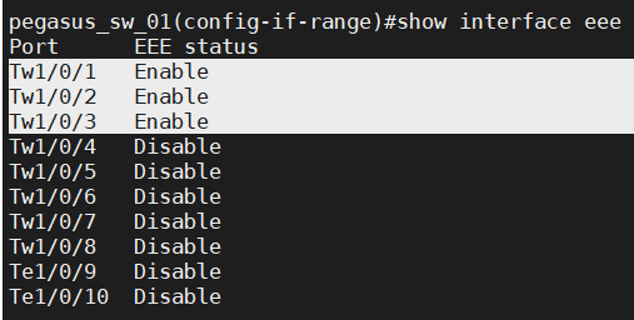
I applied the same for all the other RJ45 interfaces. Of course, I cannot apply this in the fiber interfaces.
Let’s finalize the configuration session and let’s save the configuration.
endcopy running-config startup-config
Showing Power over Ethernet (PoE) configuration for a port
As this is a switch that provides power over ethernet, which means that it can energize other devices that support PoE, it could be good to get familiar with some commands related to this; one of them is shown in this example.
In this case the PoE configuration for interface Tw1/0/1 is shown.
show power inline configuration interface two-gigabitEthernet 1/0/1

Enabling loopback-detection
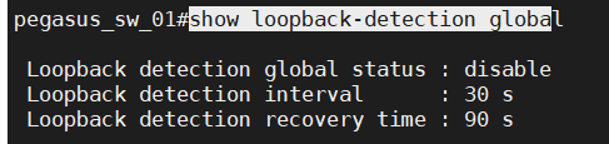
To detect loops and to display an alert or to block the port when loops are detected. According to Omada documentation, this should be used together with the storm control capabilities of the switch.
show loopback-detection global
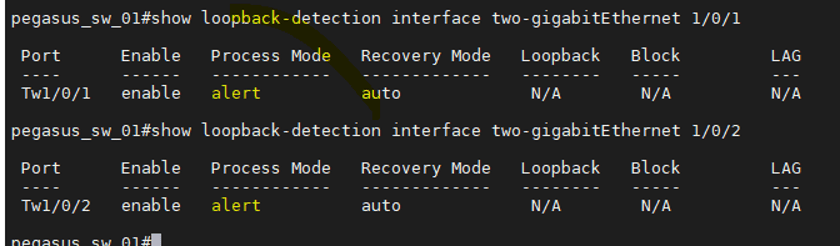
pegasus_sw_01#show loopback-detection interface two-gigabitEthernet 1/0/1

I am going to enable loopback-detection port by port. Actually I use range to modify 4 ports and then the other 4 ports.
configinterface range two-gigabitEthernet 1/0/1,1/0/2,1/0/3,1/0/4loopback-detectionloopback-detection config process-mode alert recovery-mode autointerface range two-gigabitEthernet 1/0/5,1/0/6,1/0/7,1/0/8loopback-detectionloopback-detection config process-mode alert recovery-mode autoend
Let’s check the configuration in one of the ports.
show loop-back detection interface two-gigabitEthernet 1/0/1
Let’s save the configuration.
copy running-config startup-config Start to save user config as the Next Startup Config file...... Saving user config OK!

Leave a comment